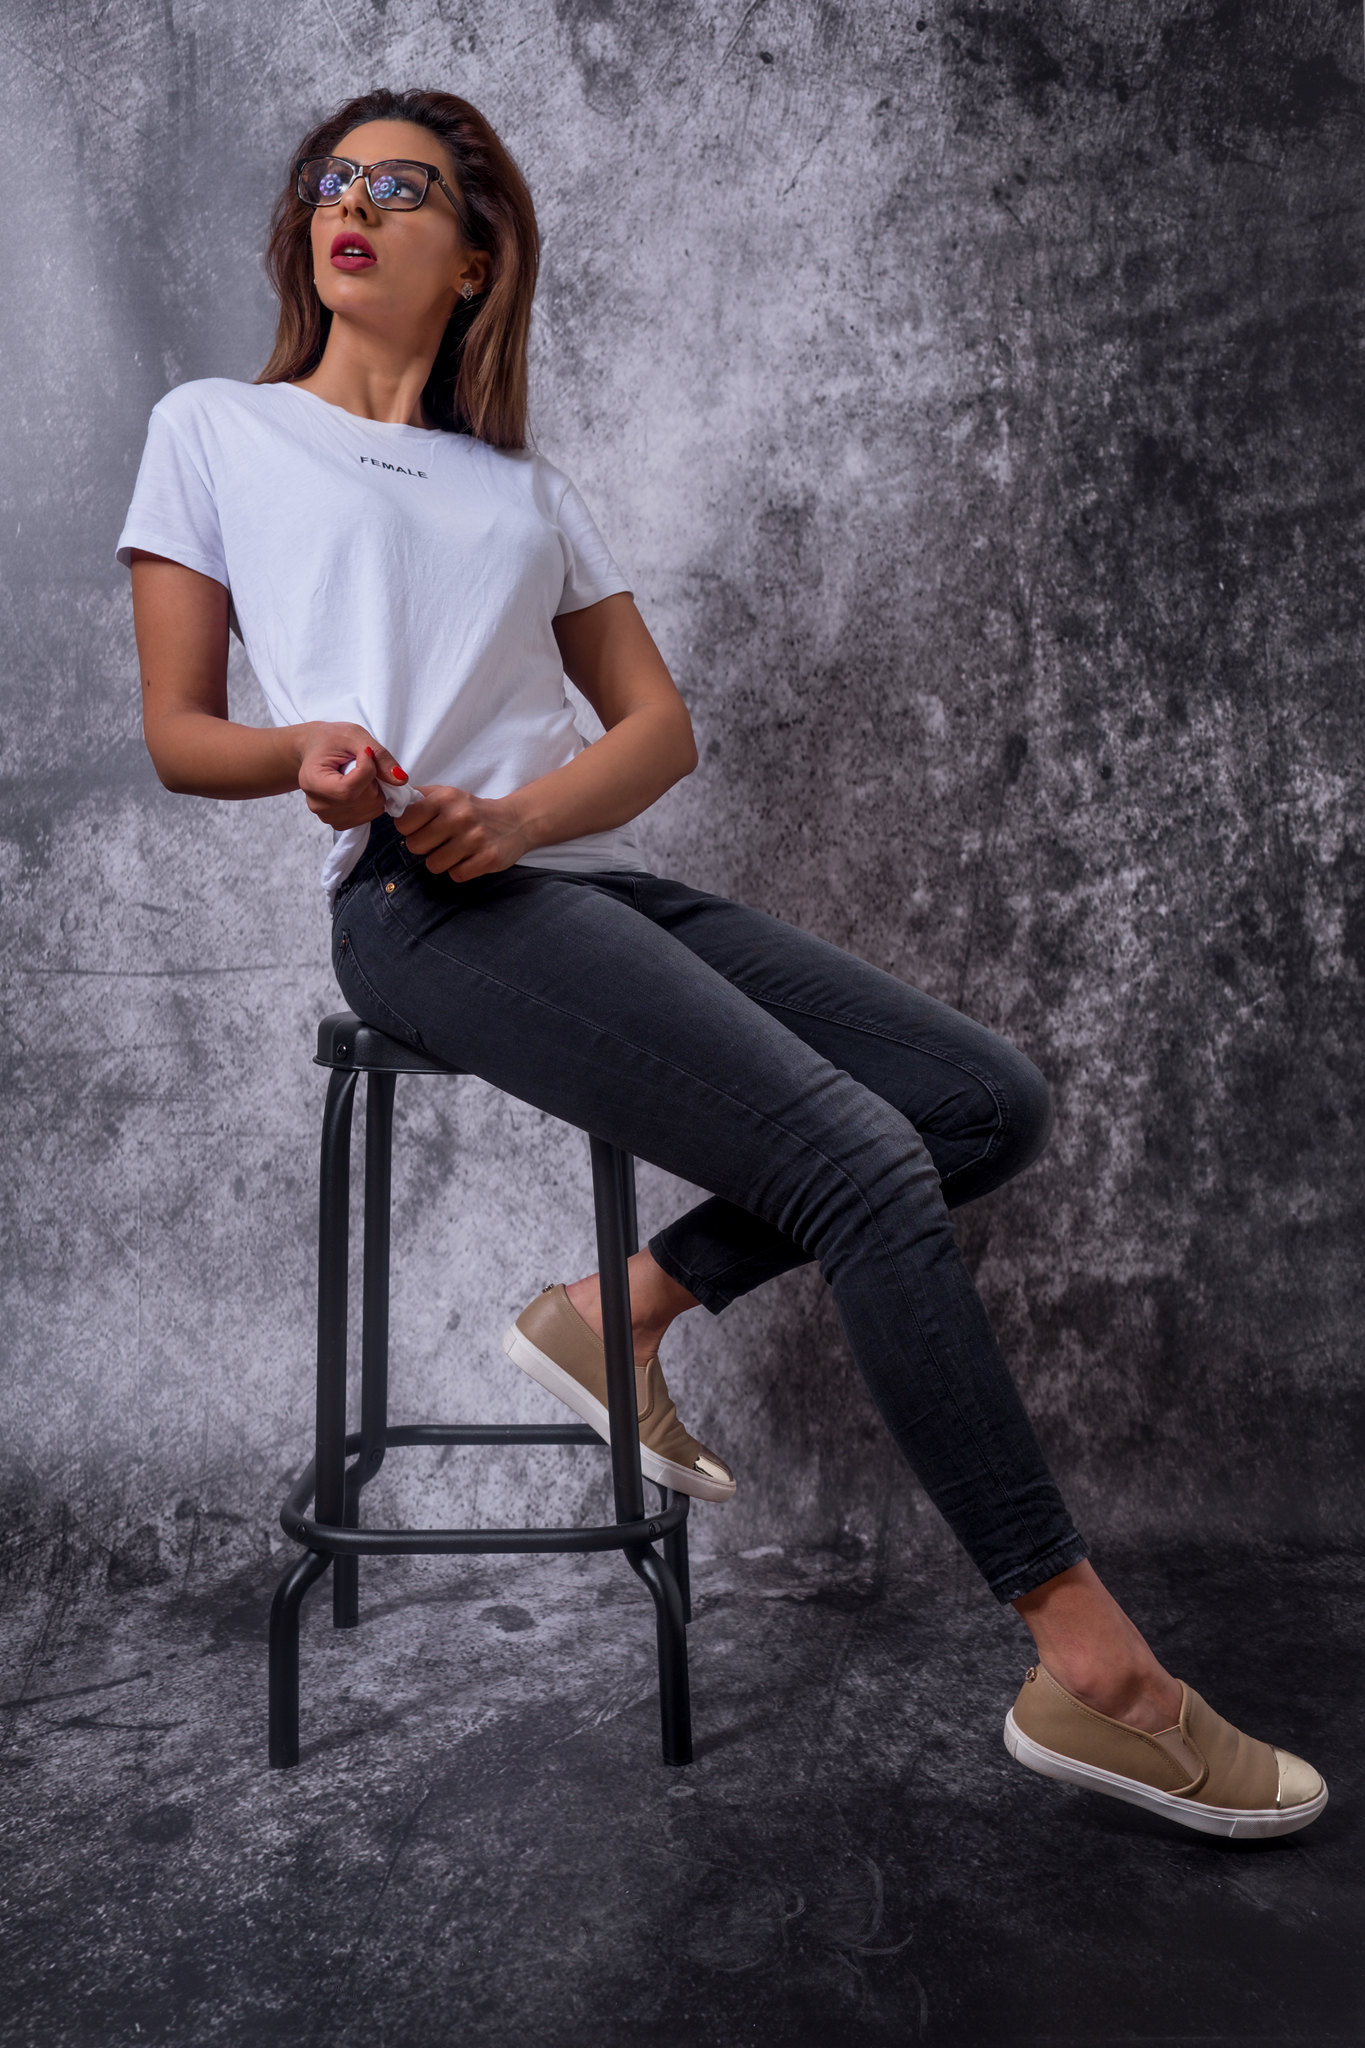
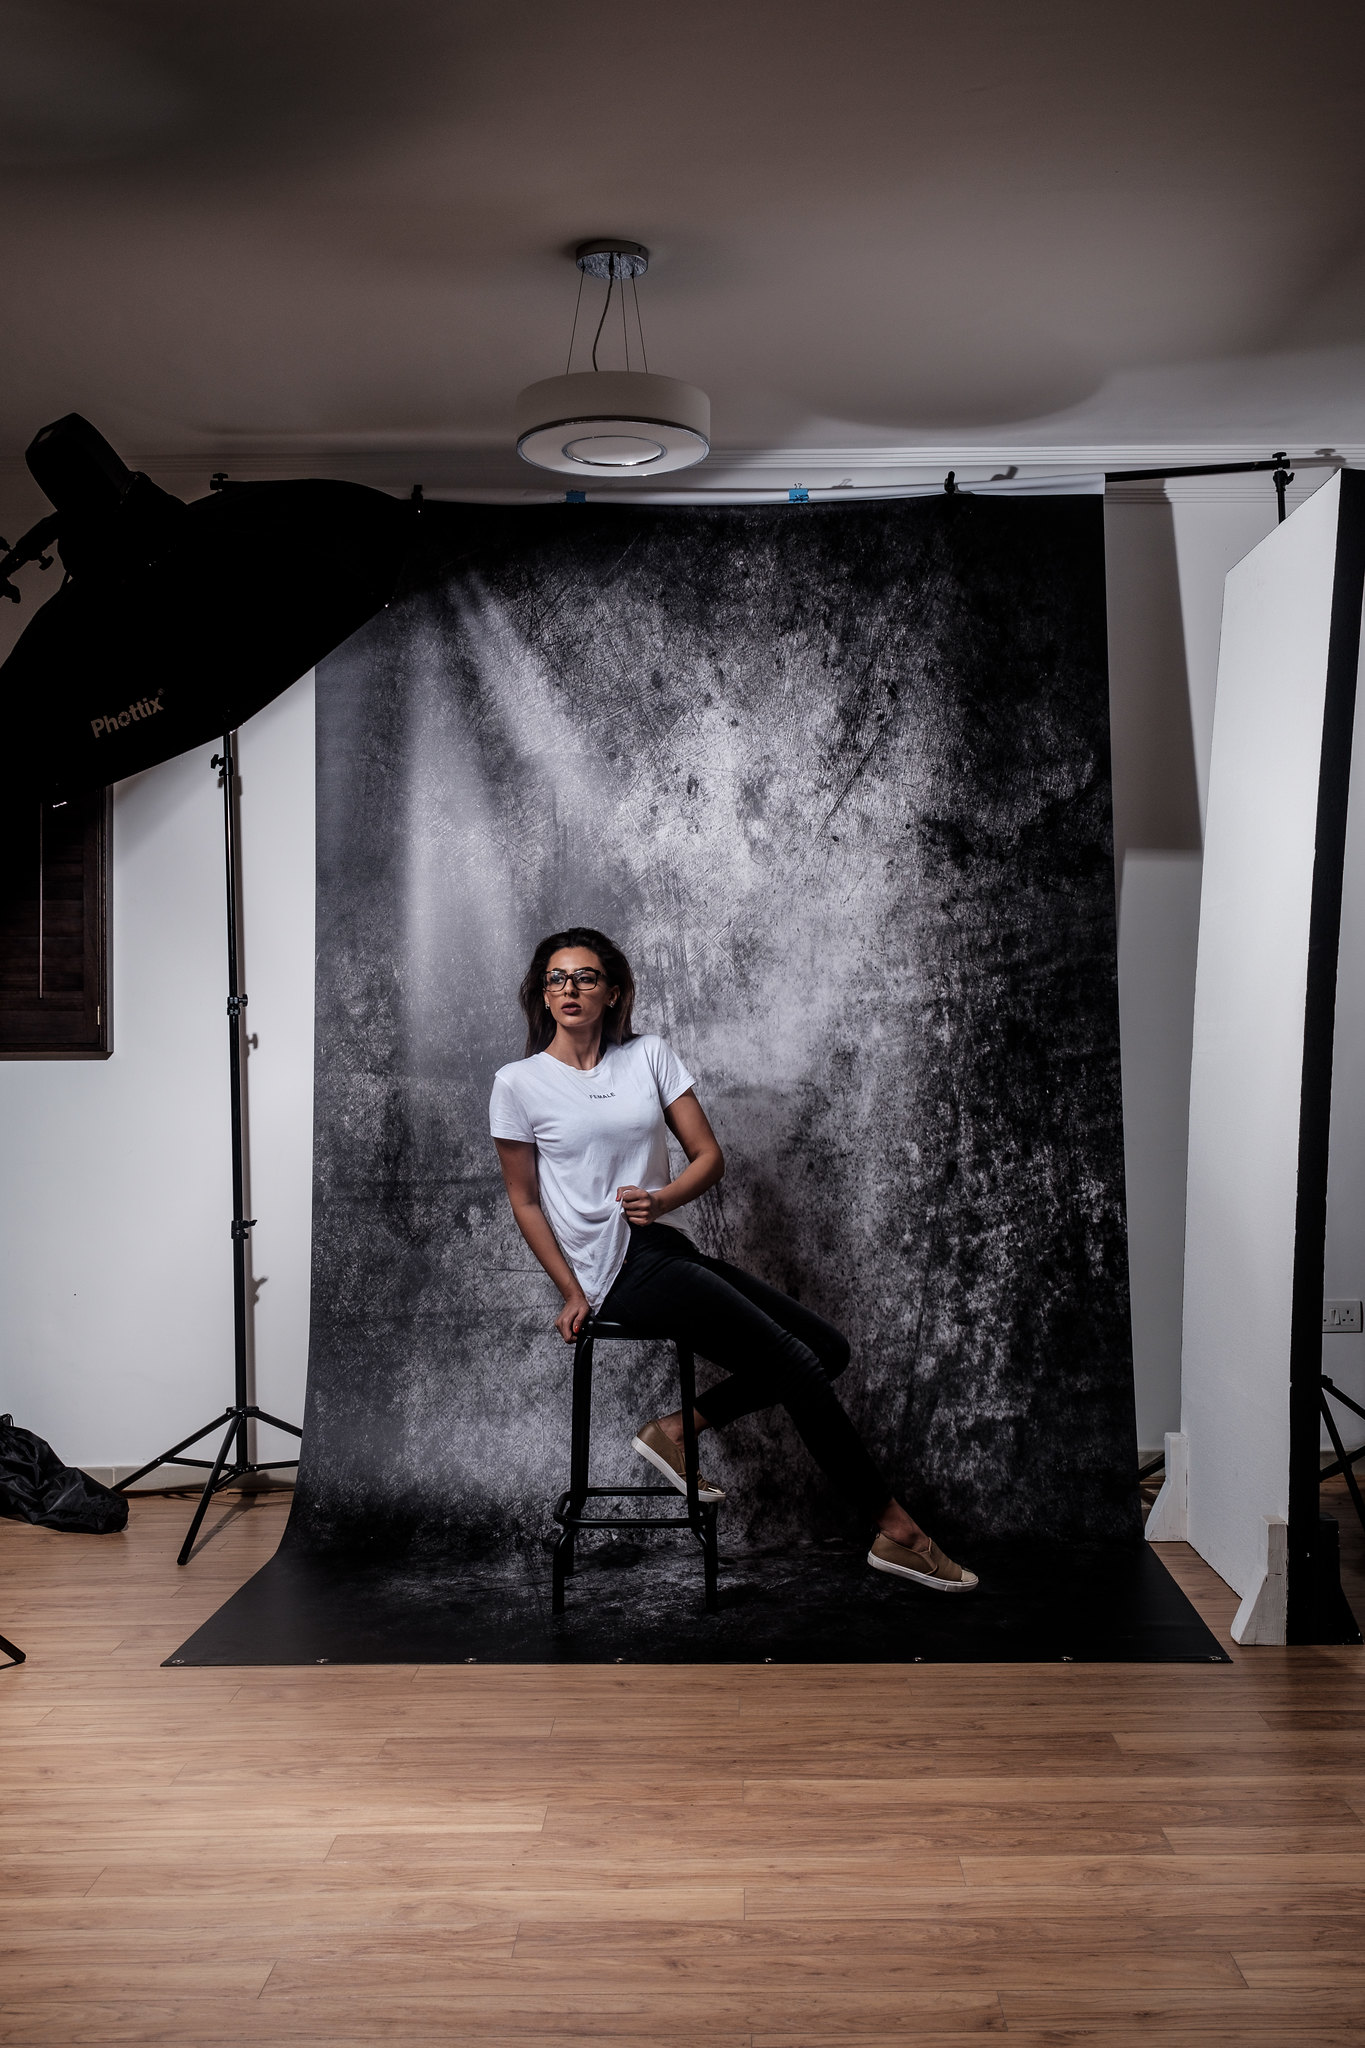
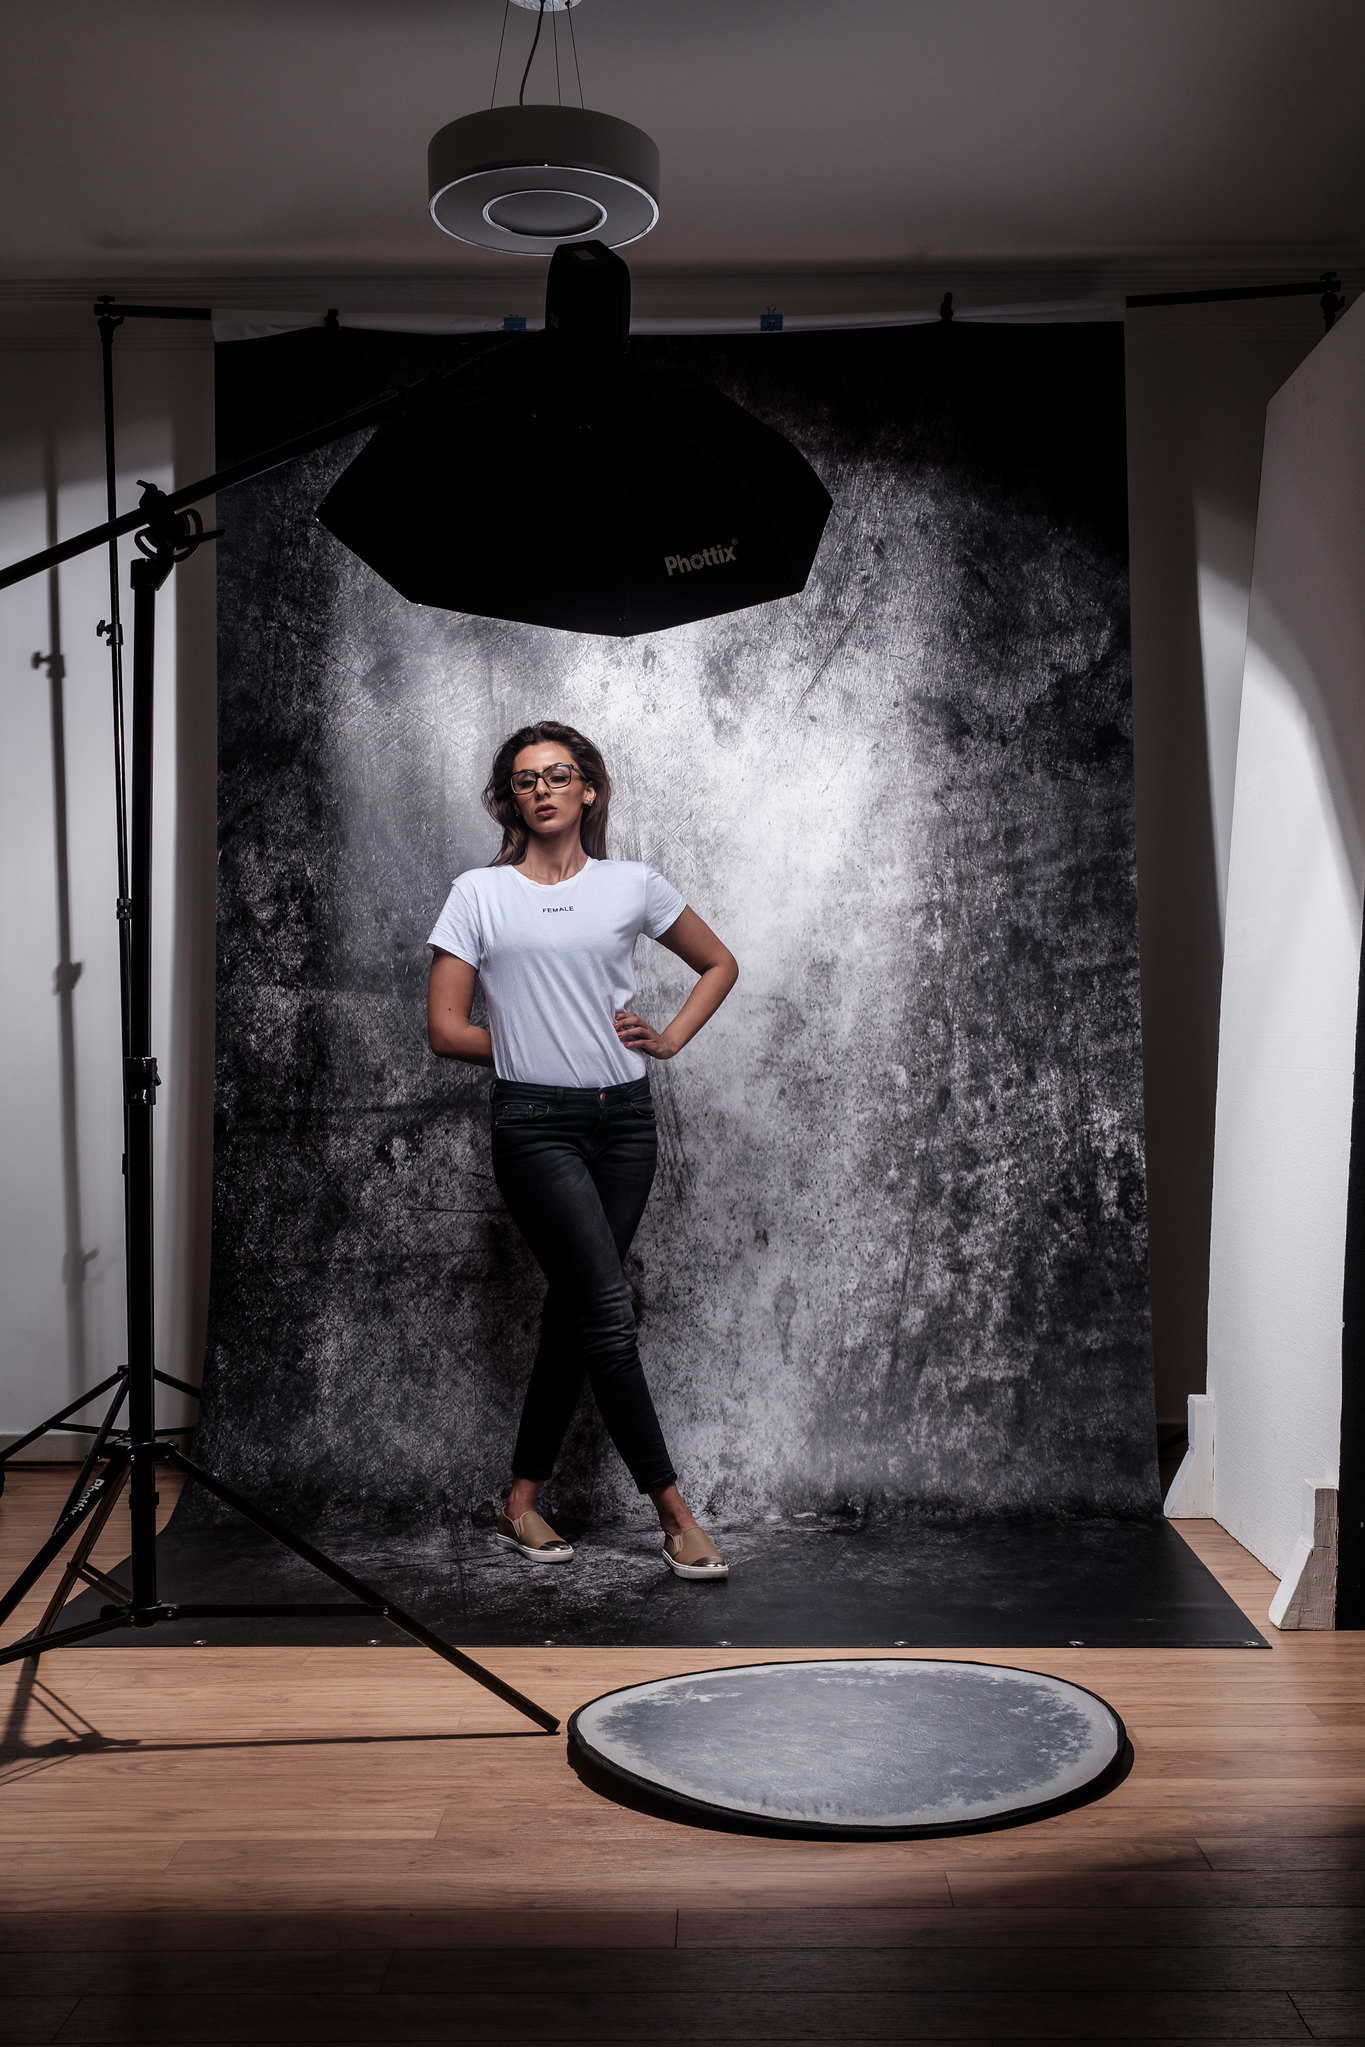
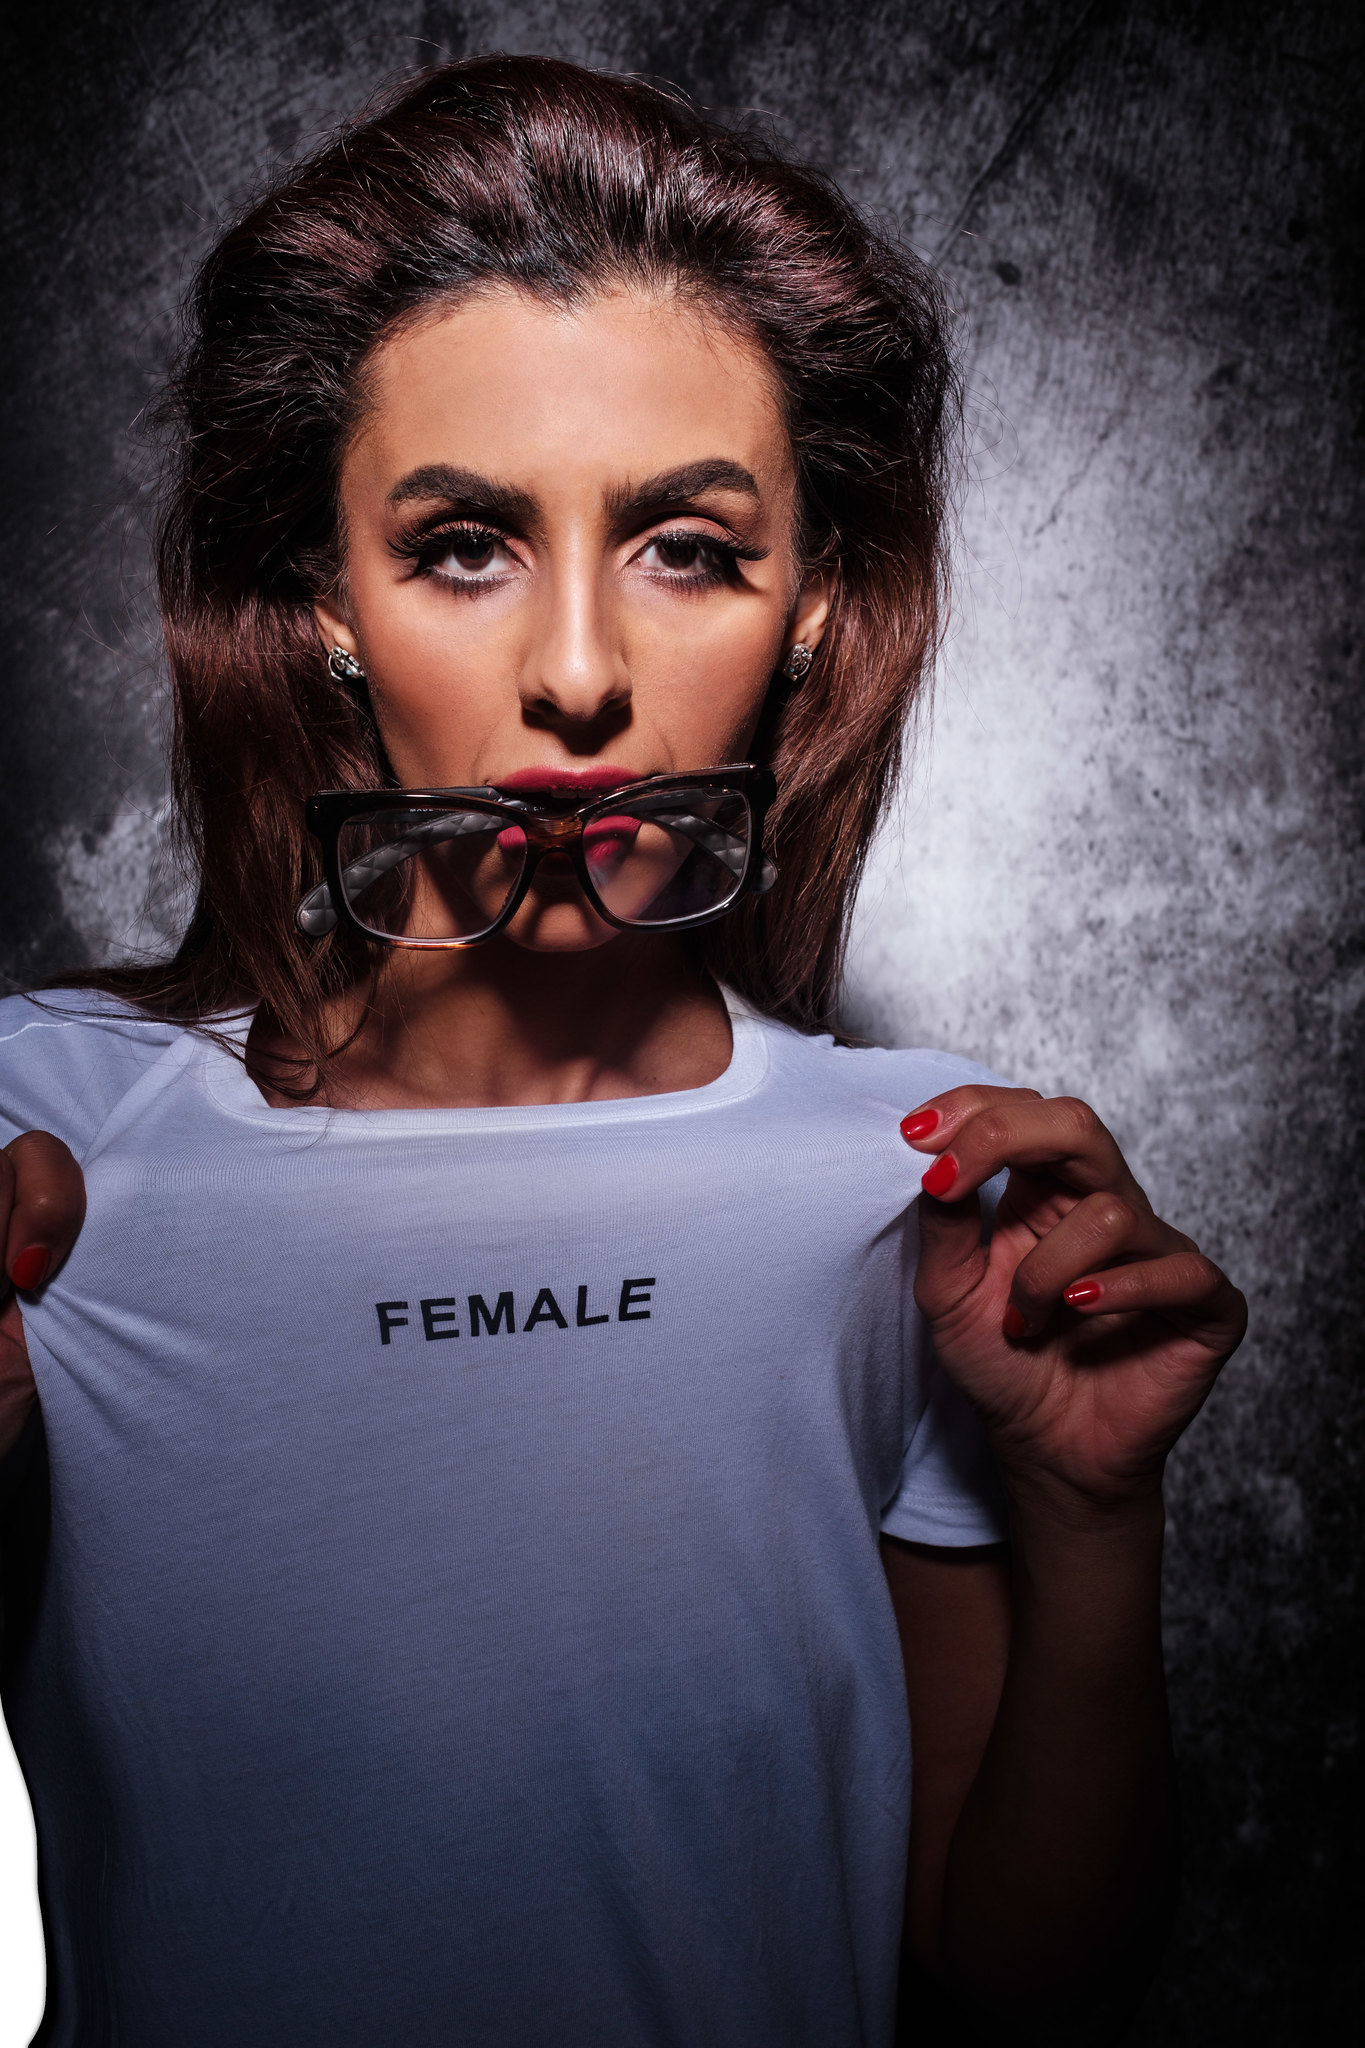
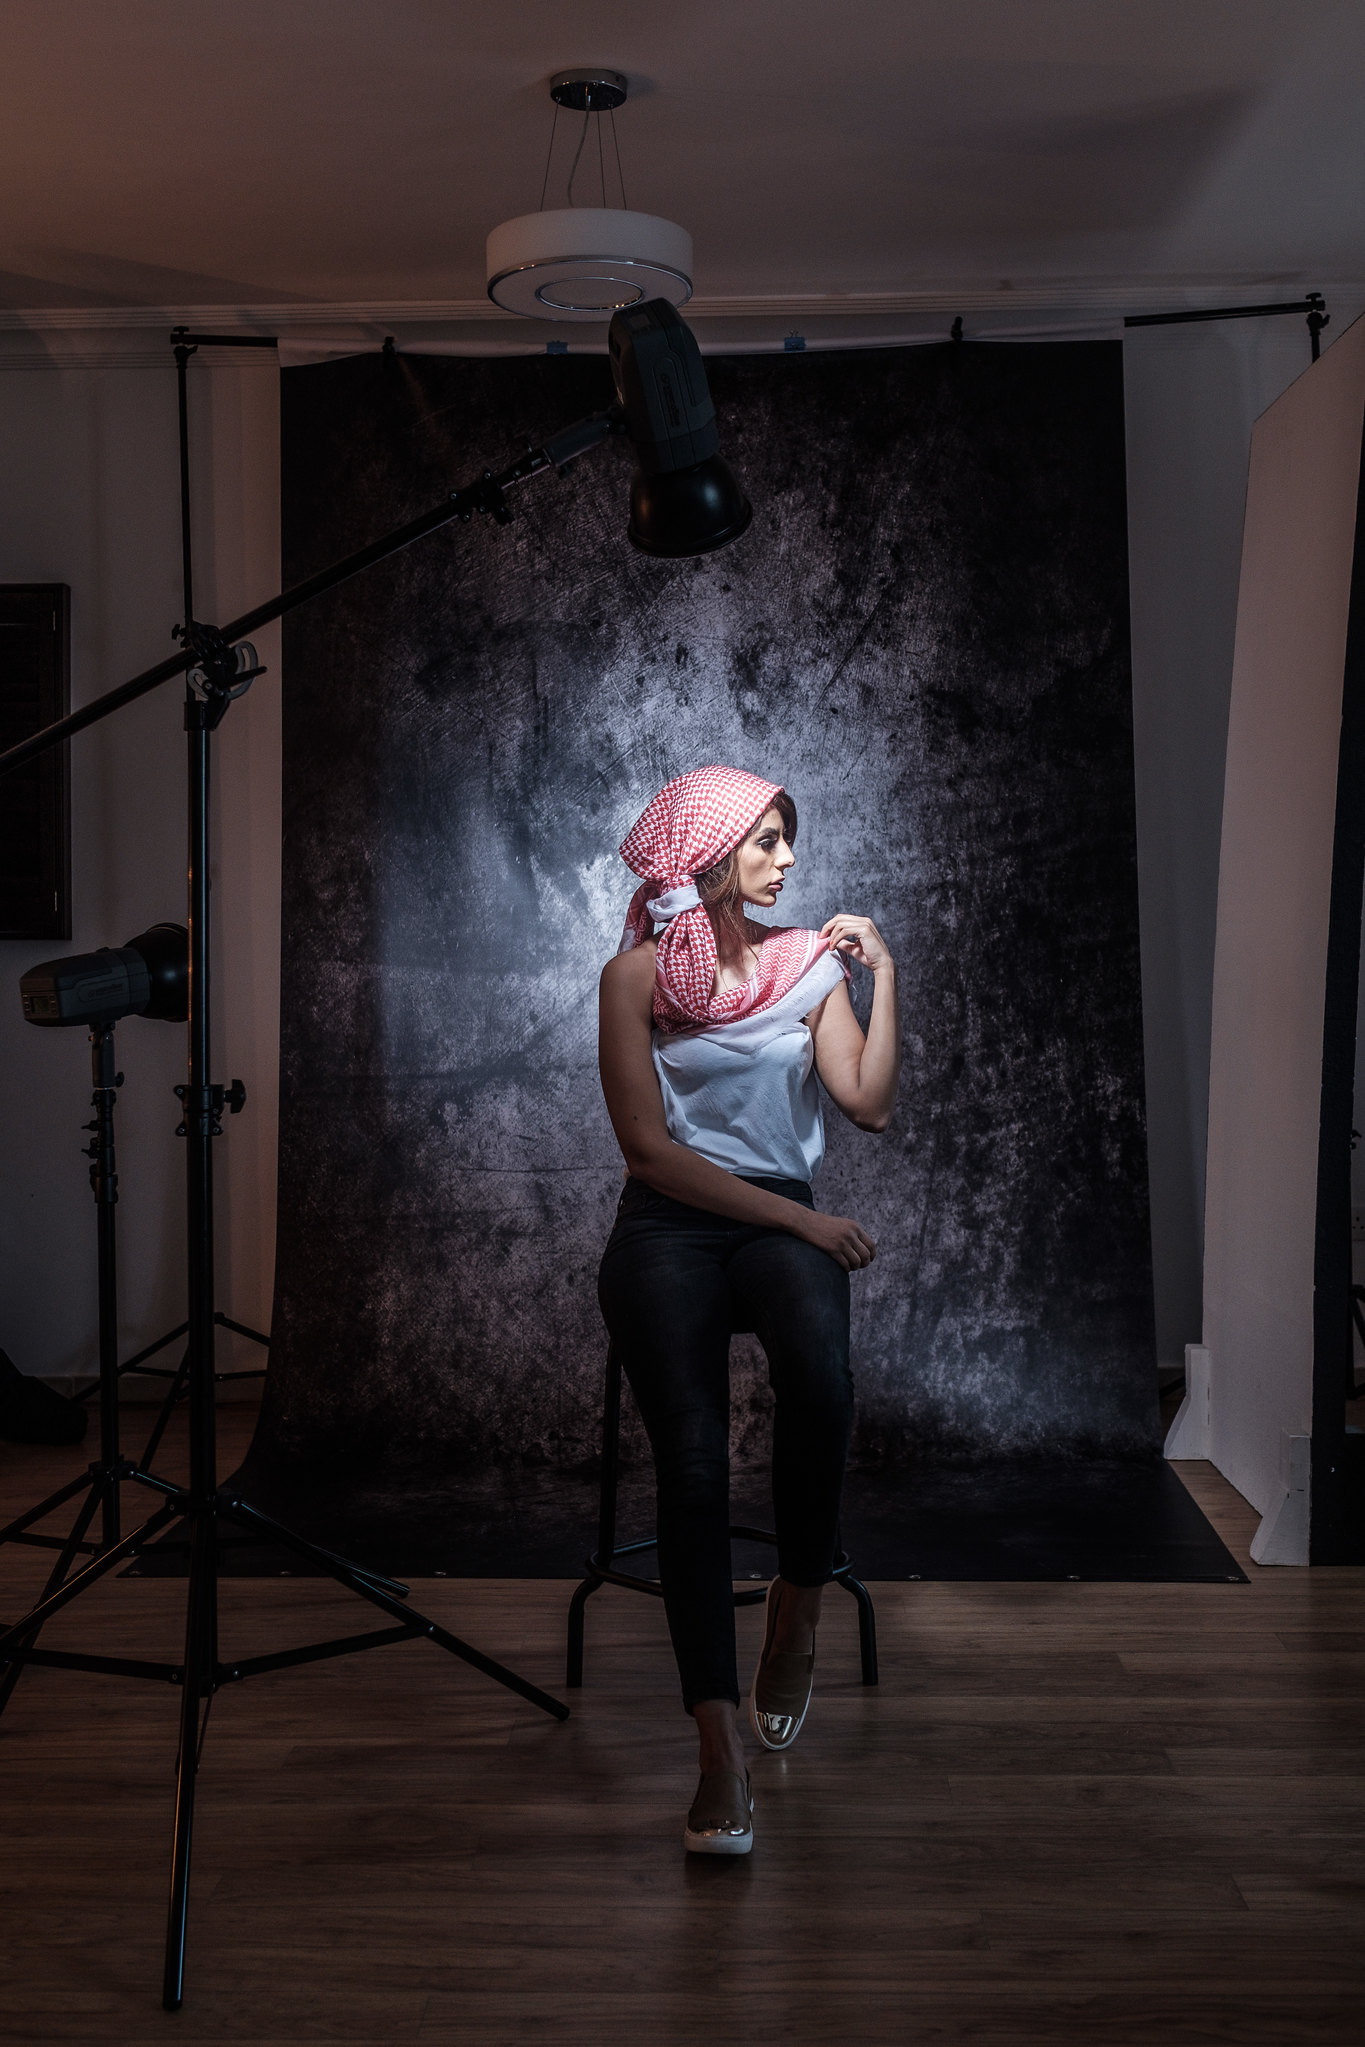
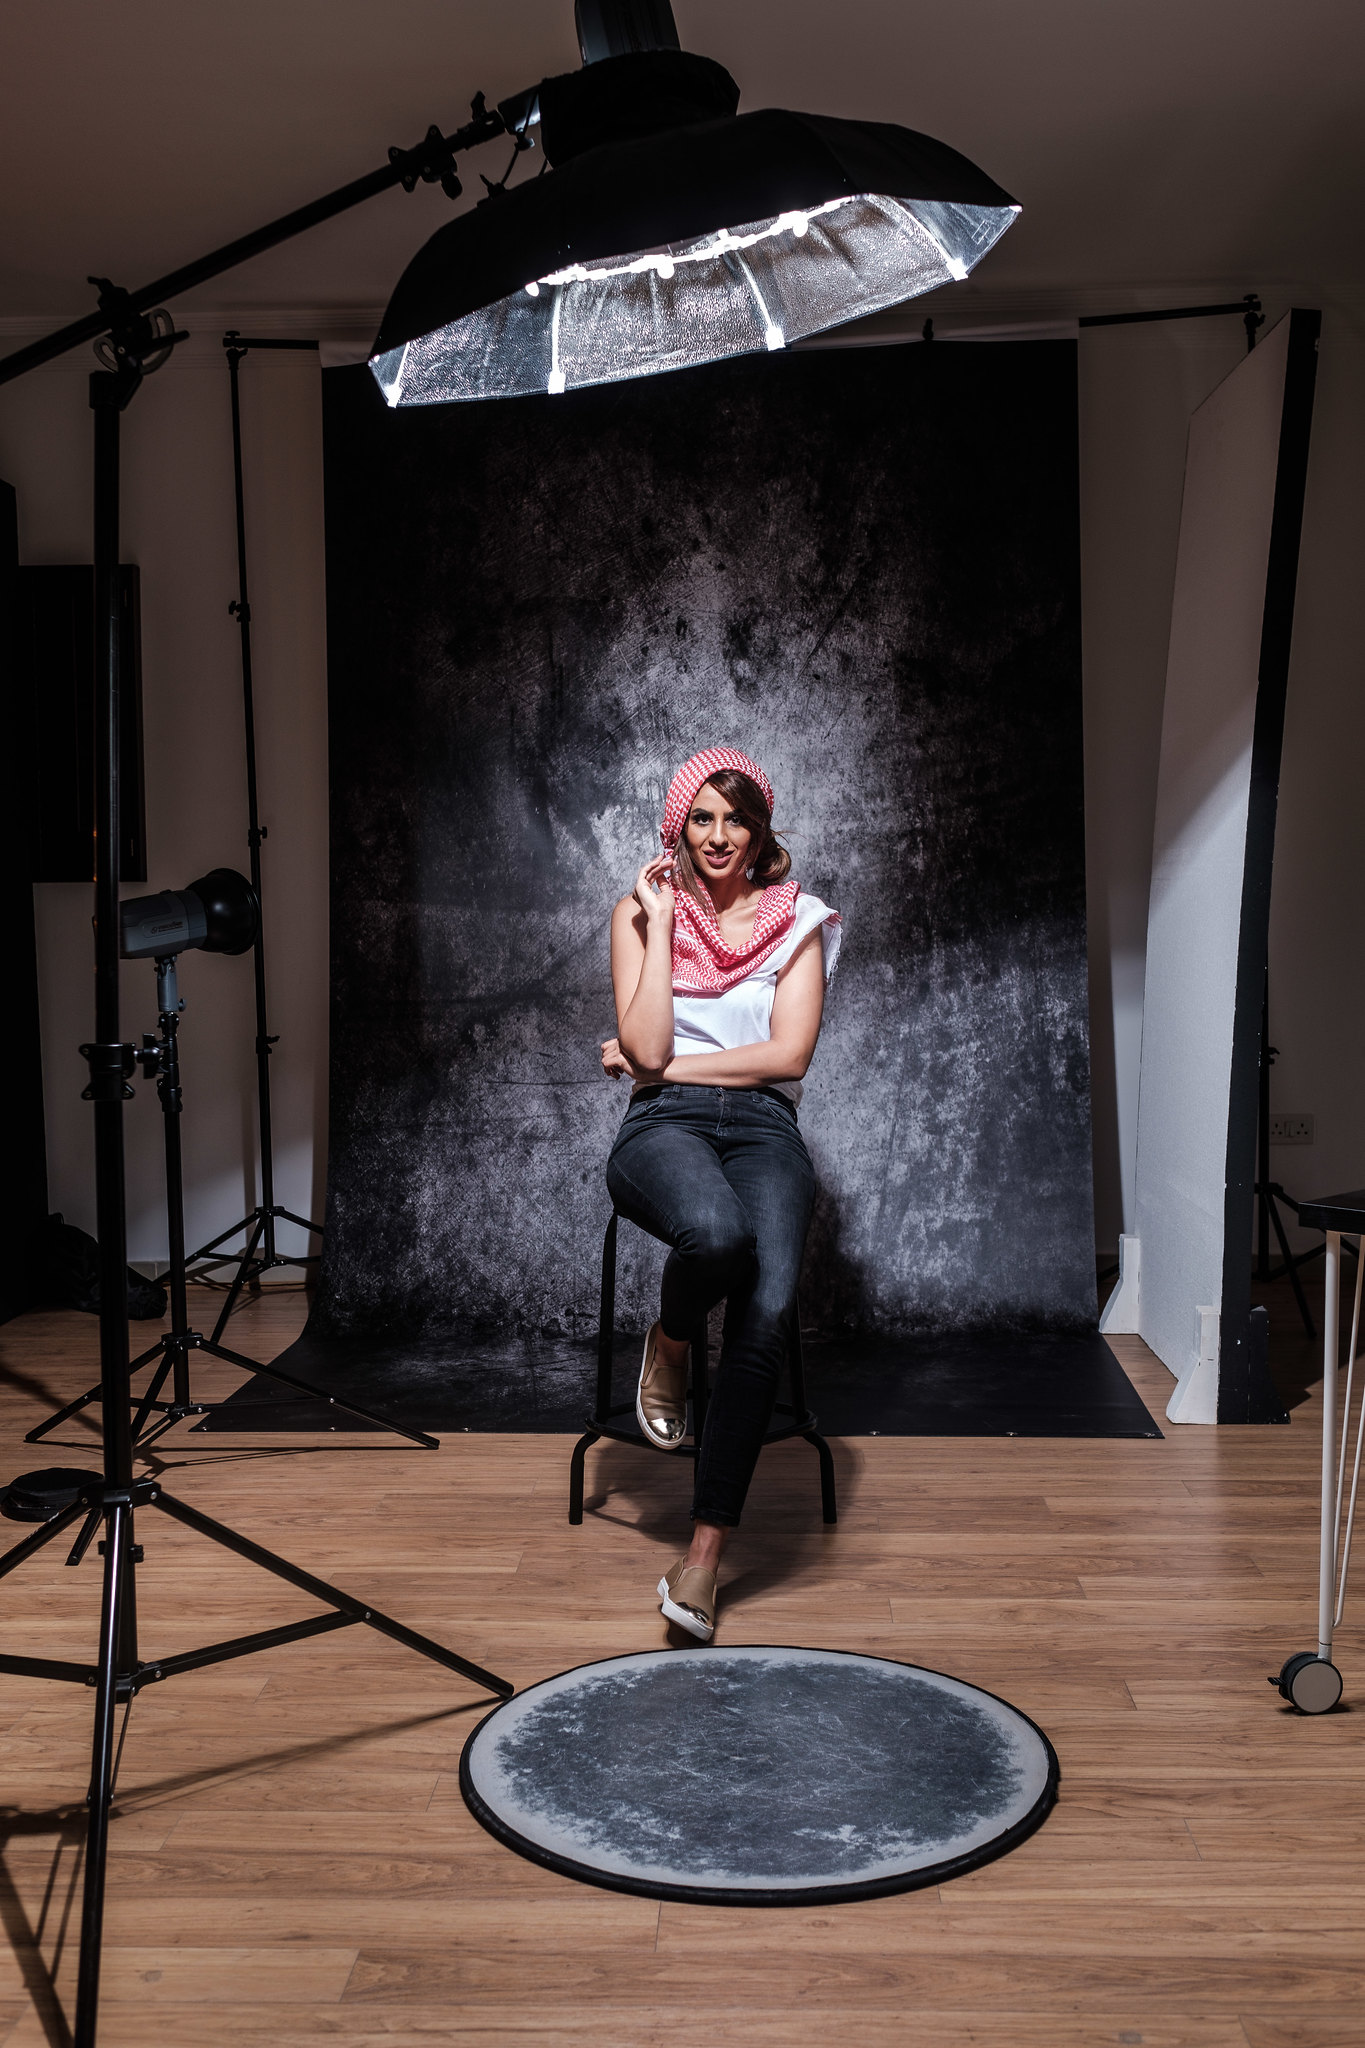
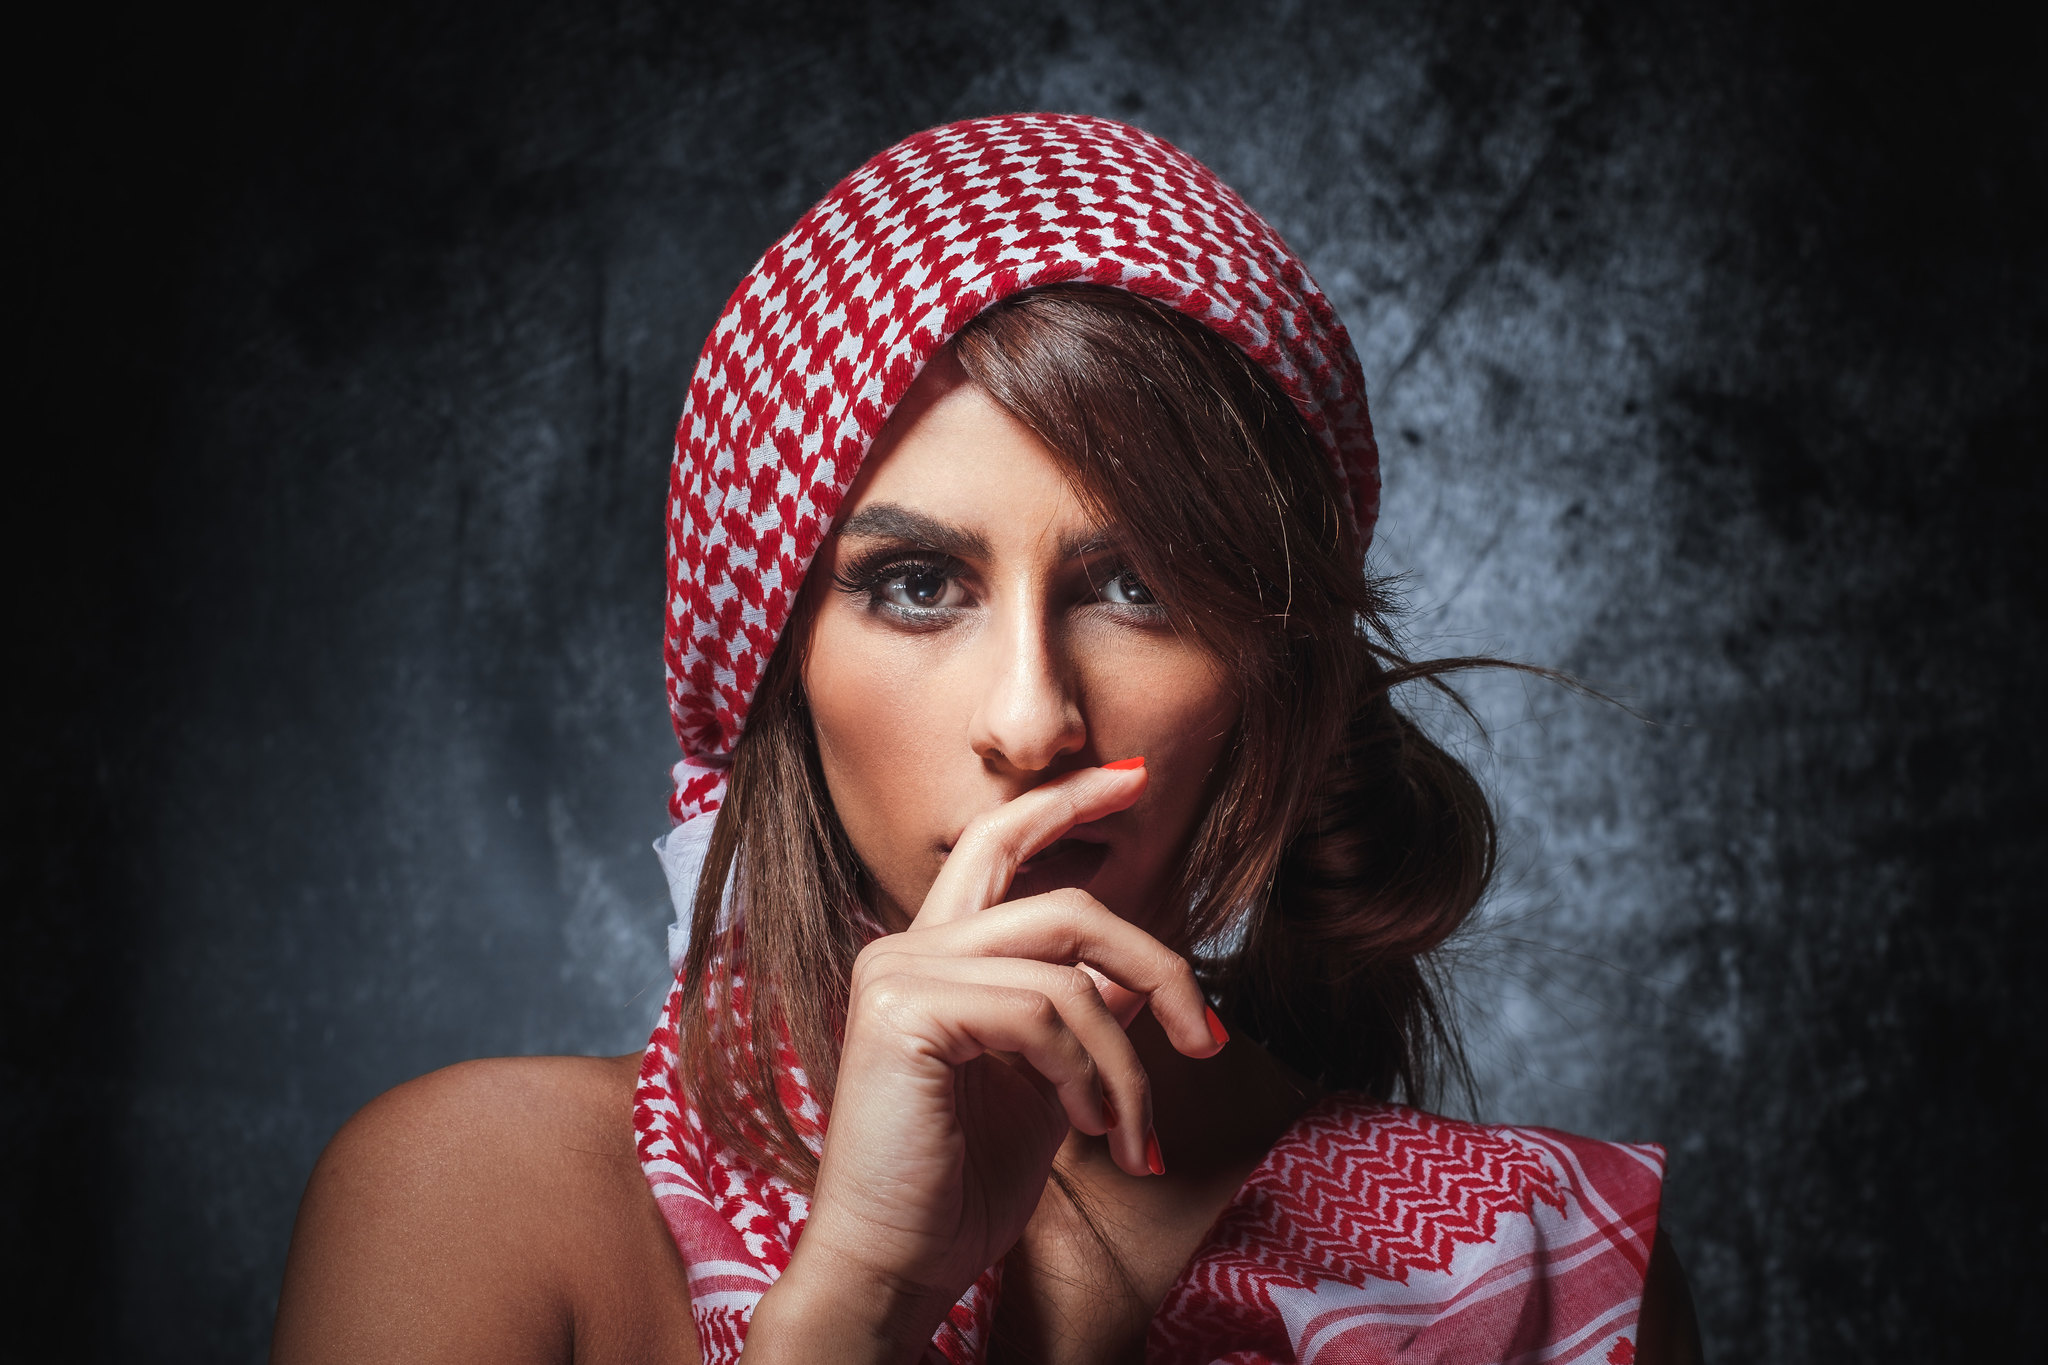
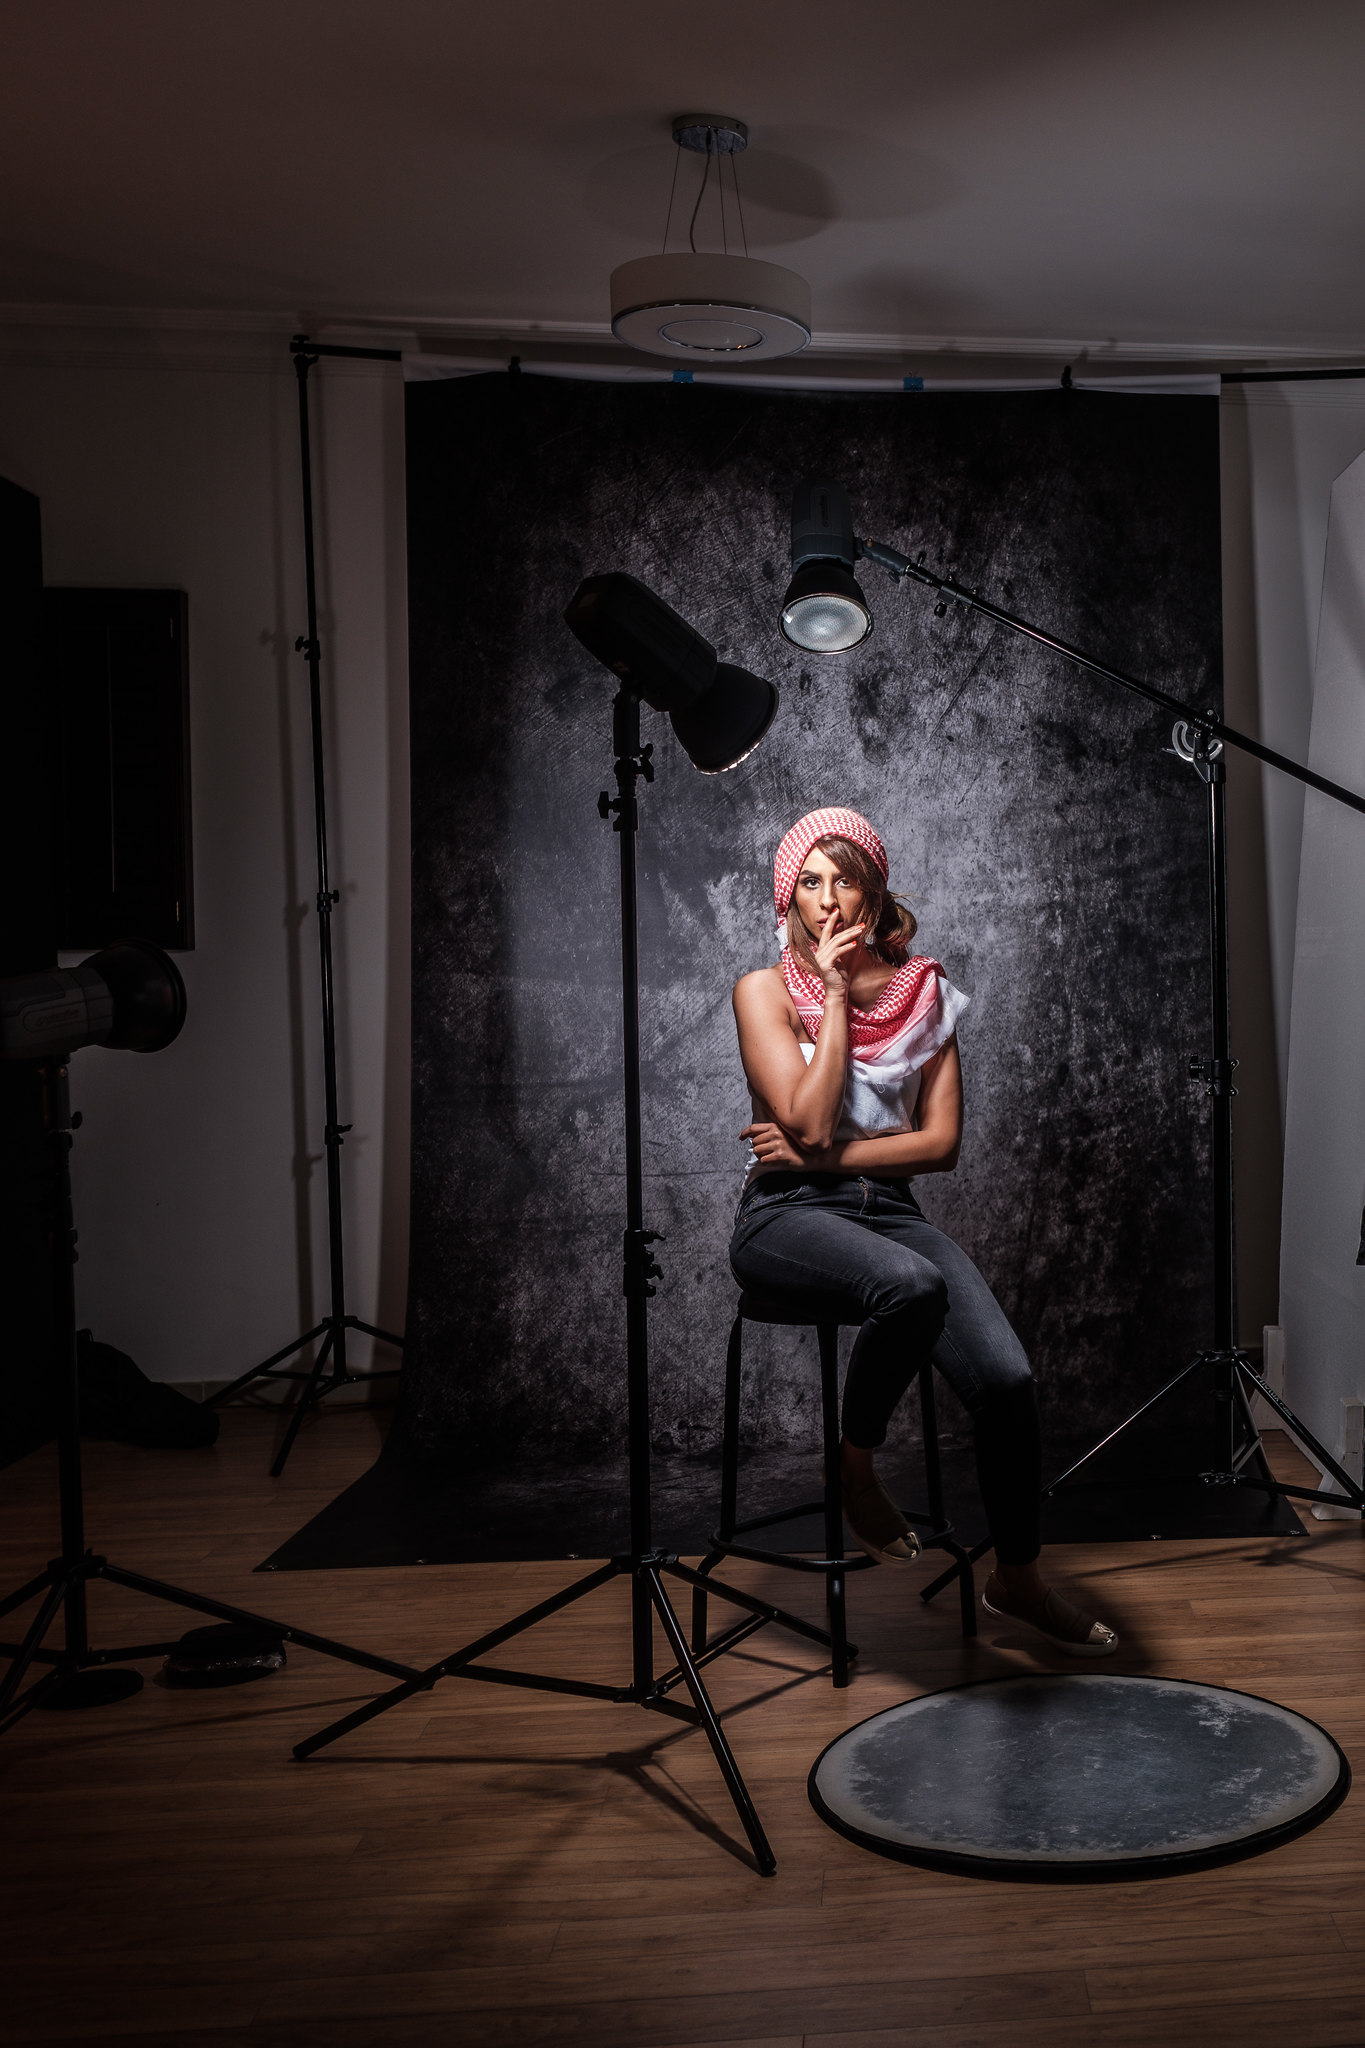
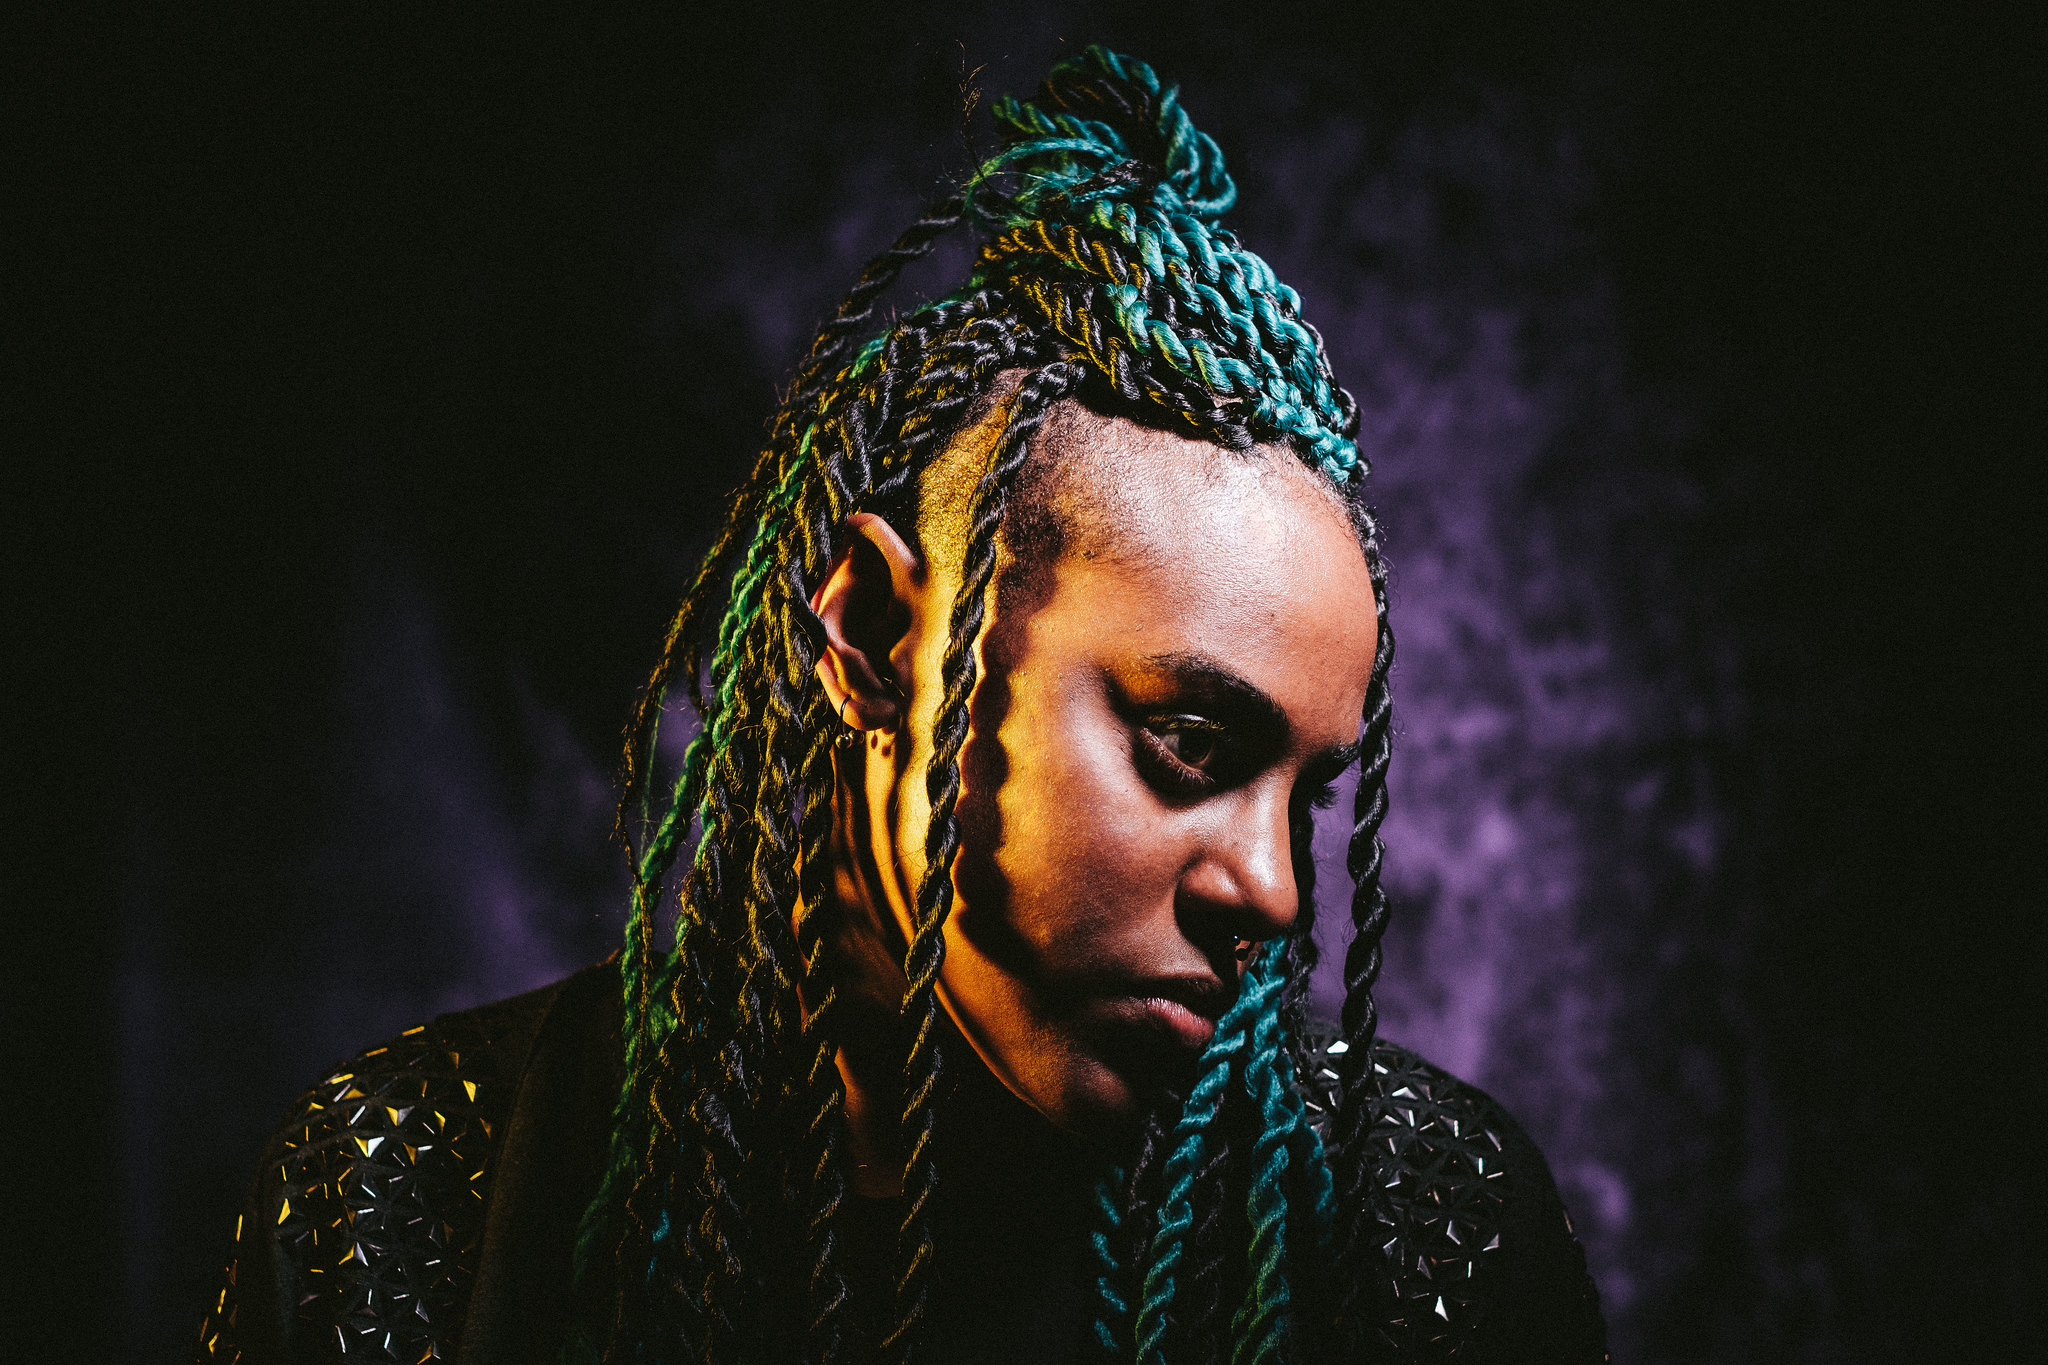
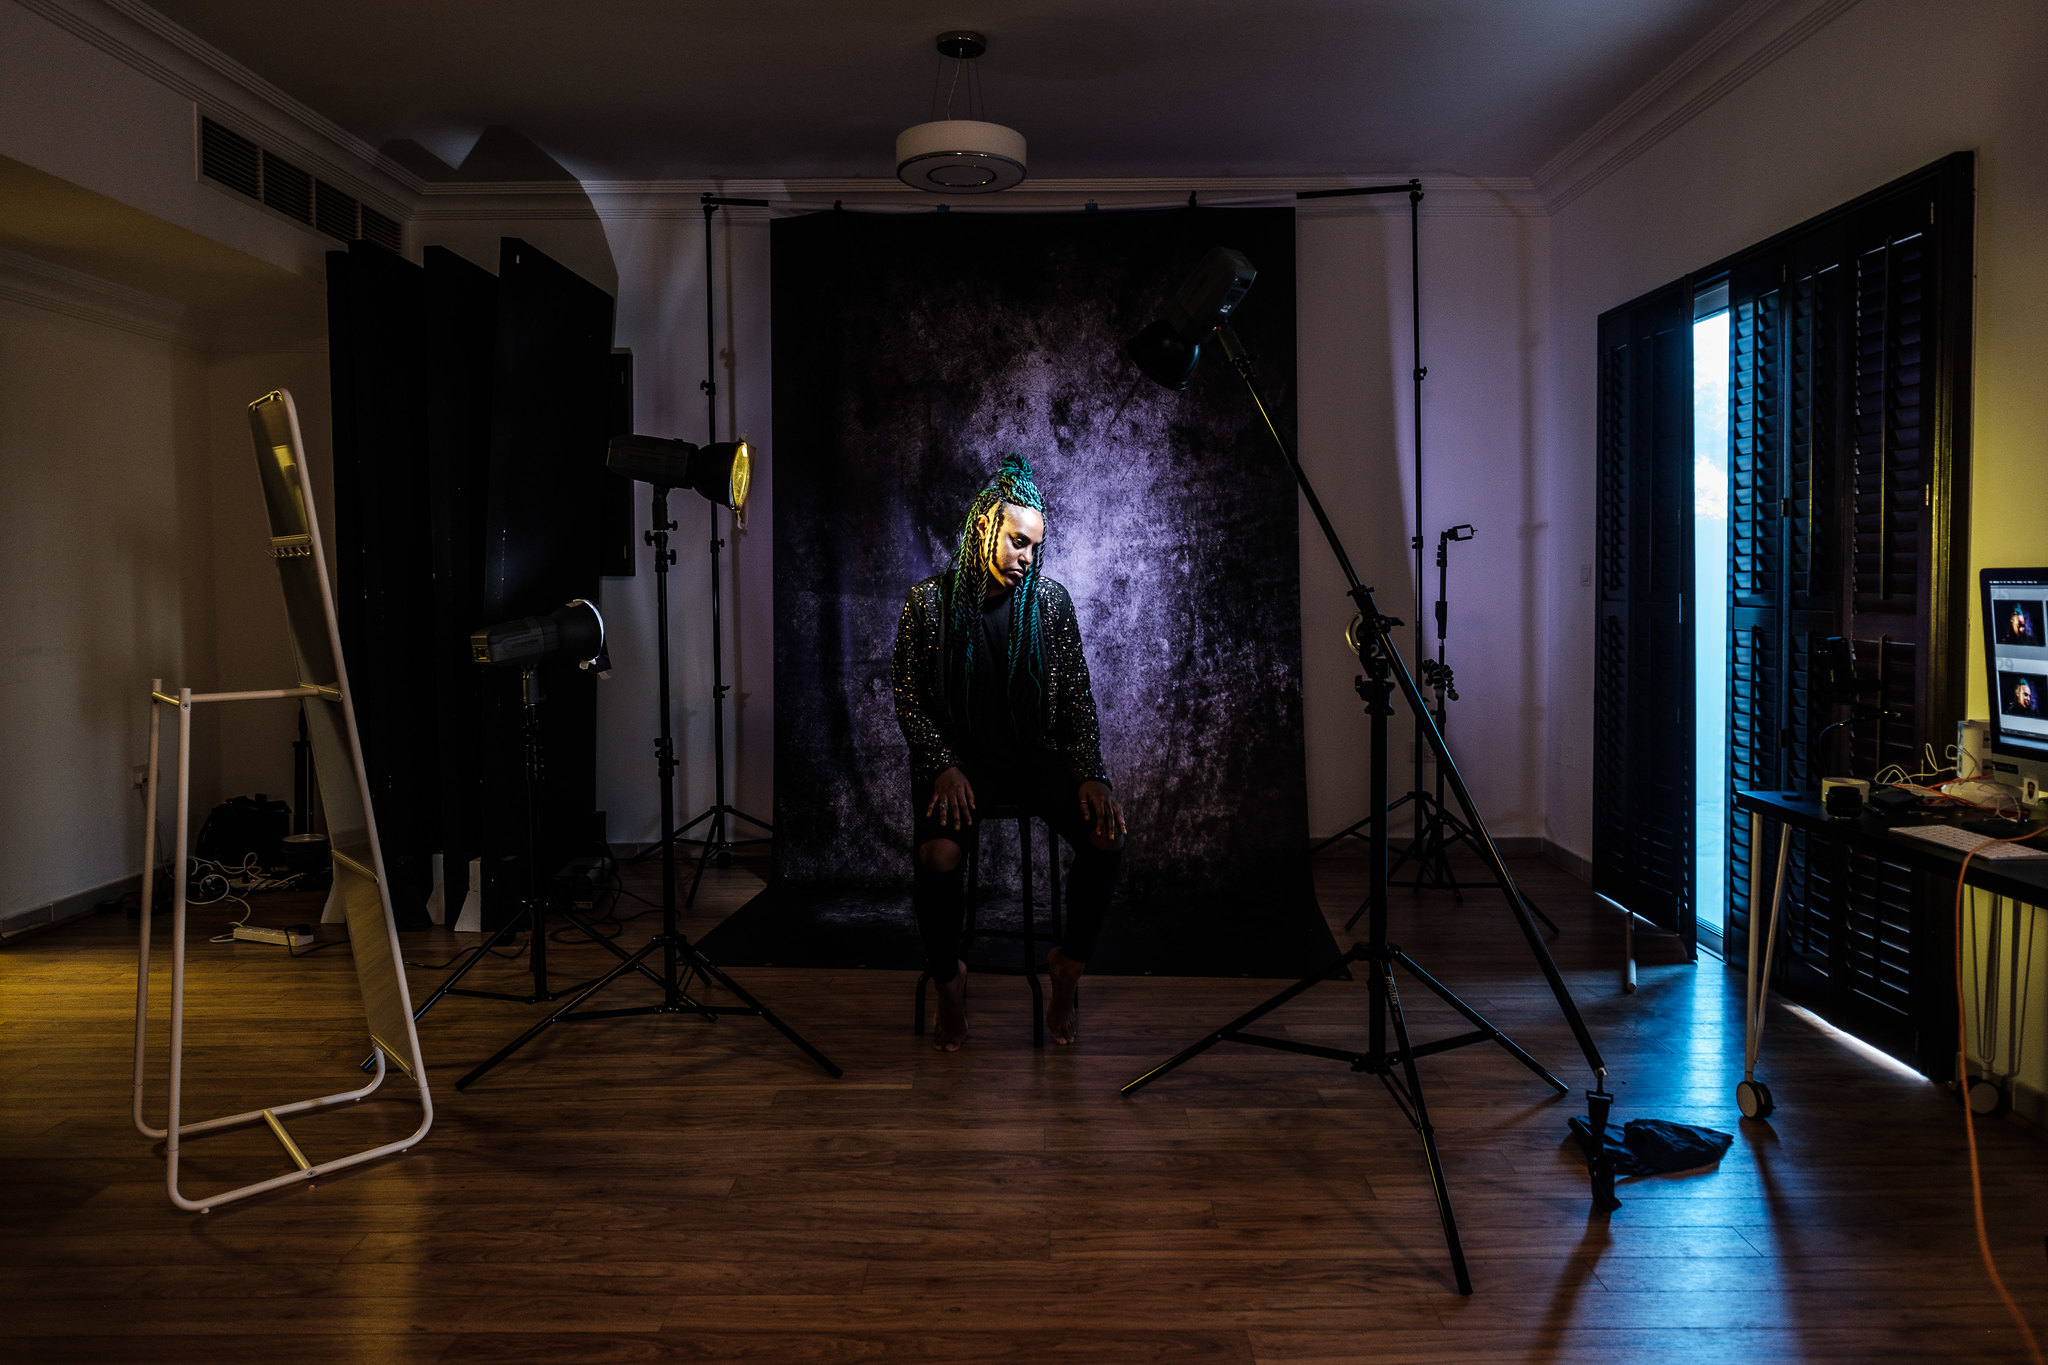
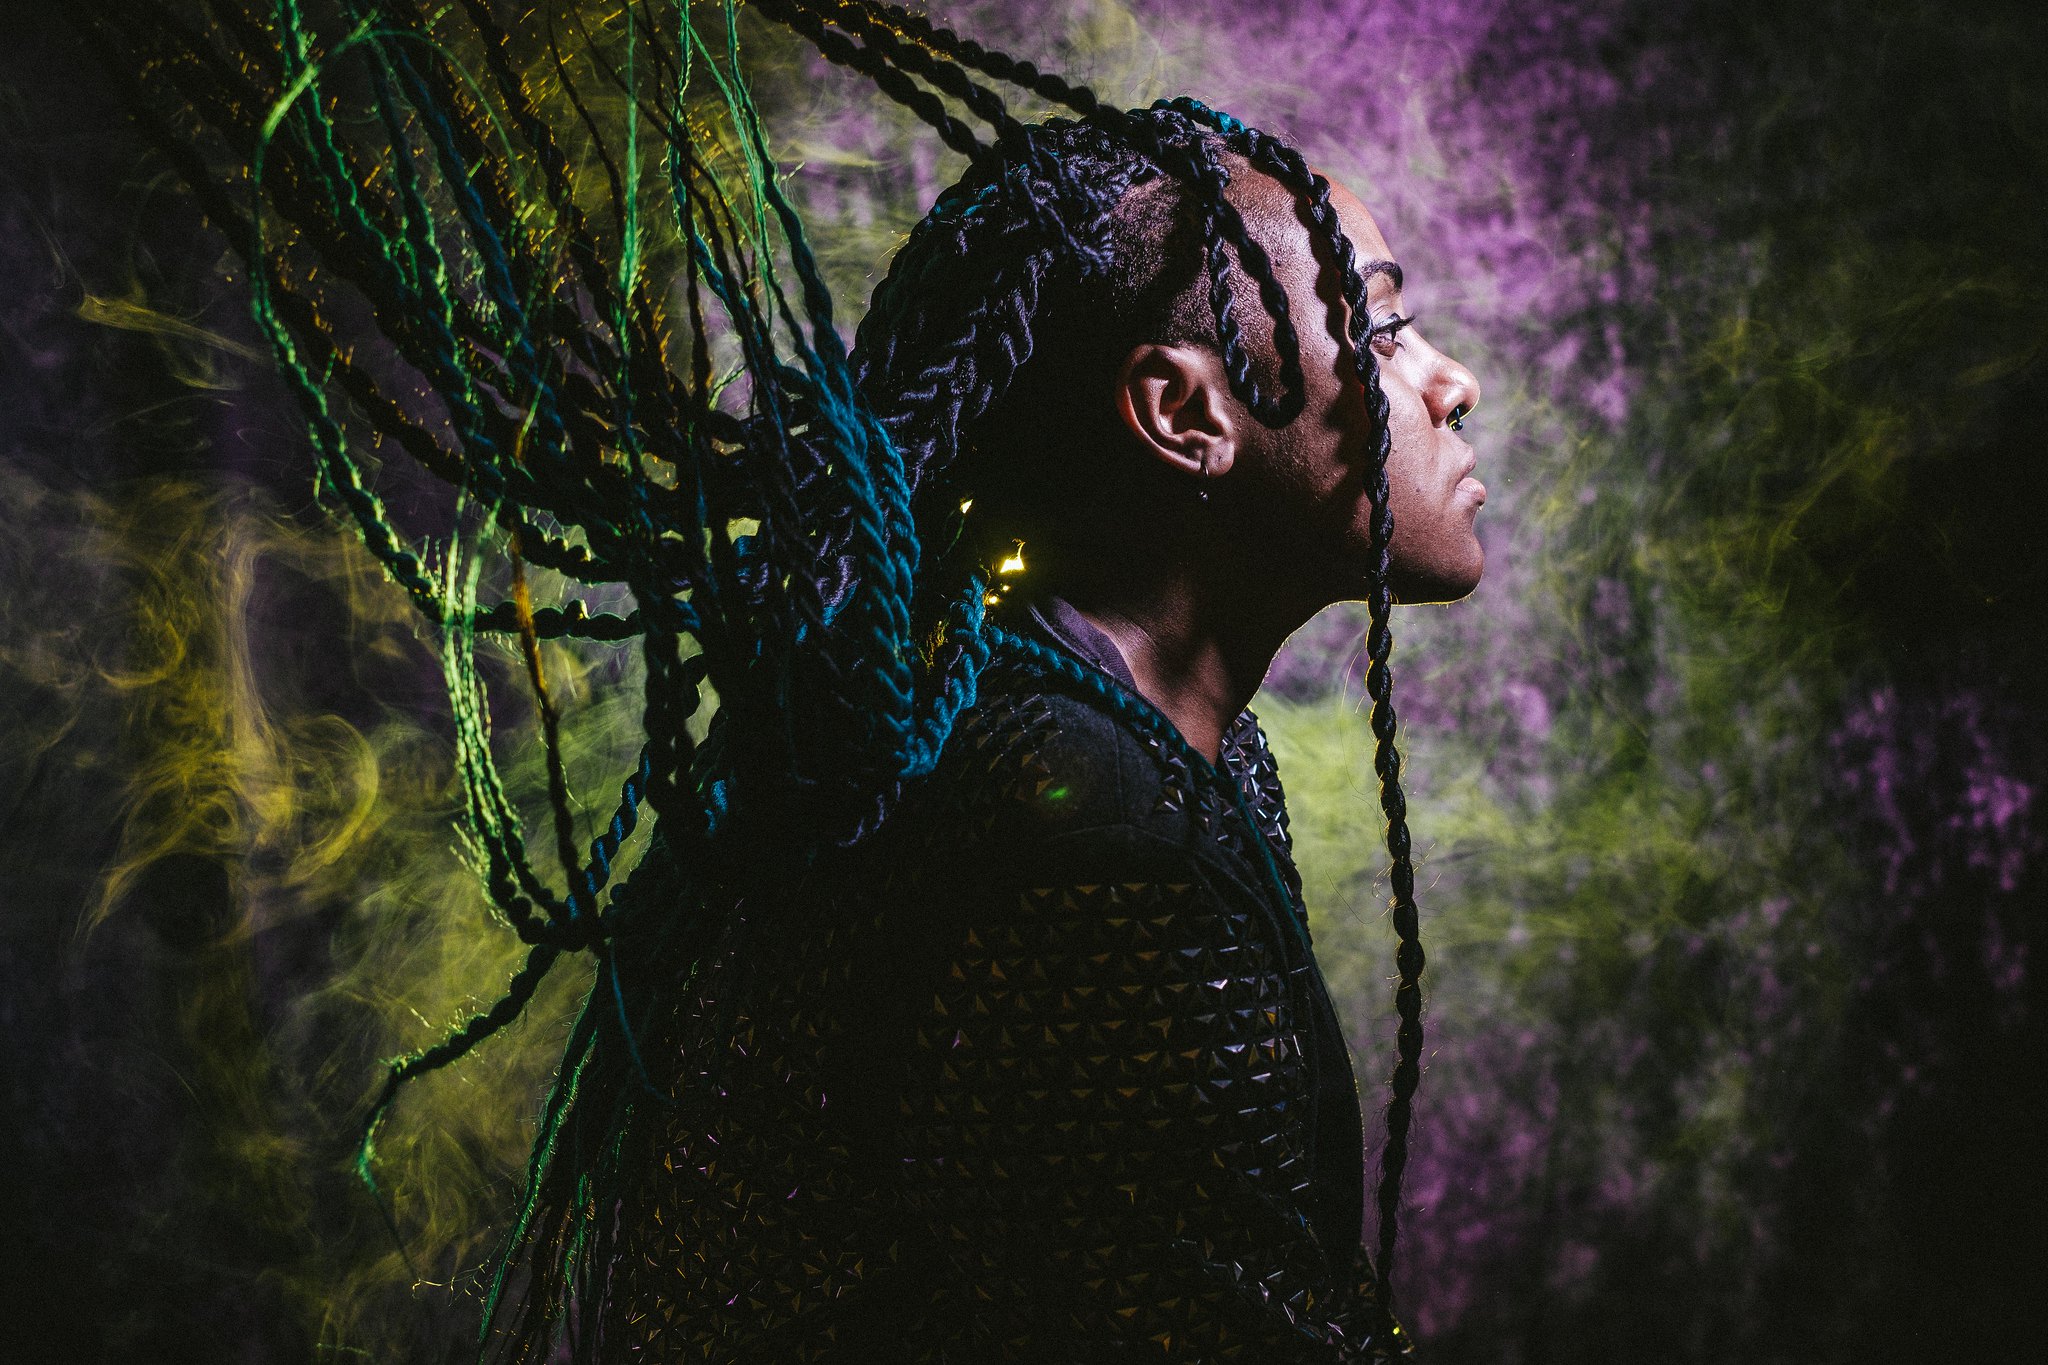
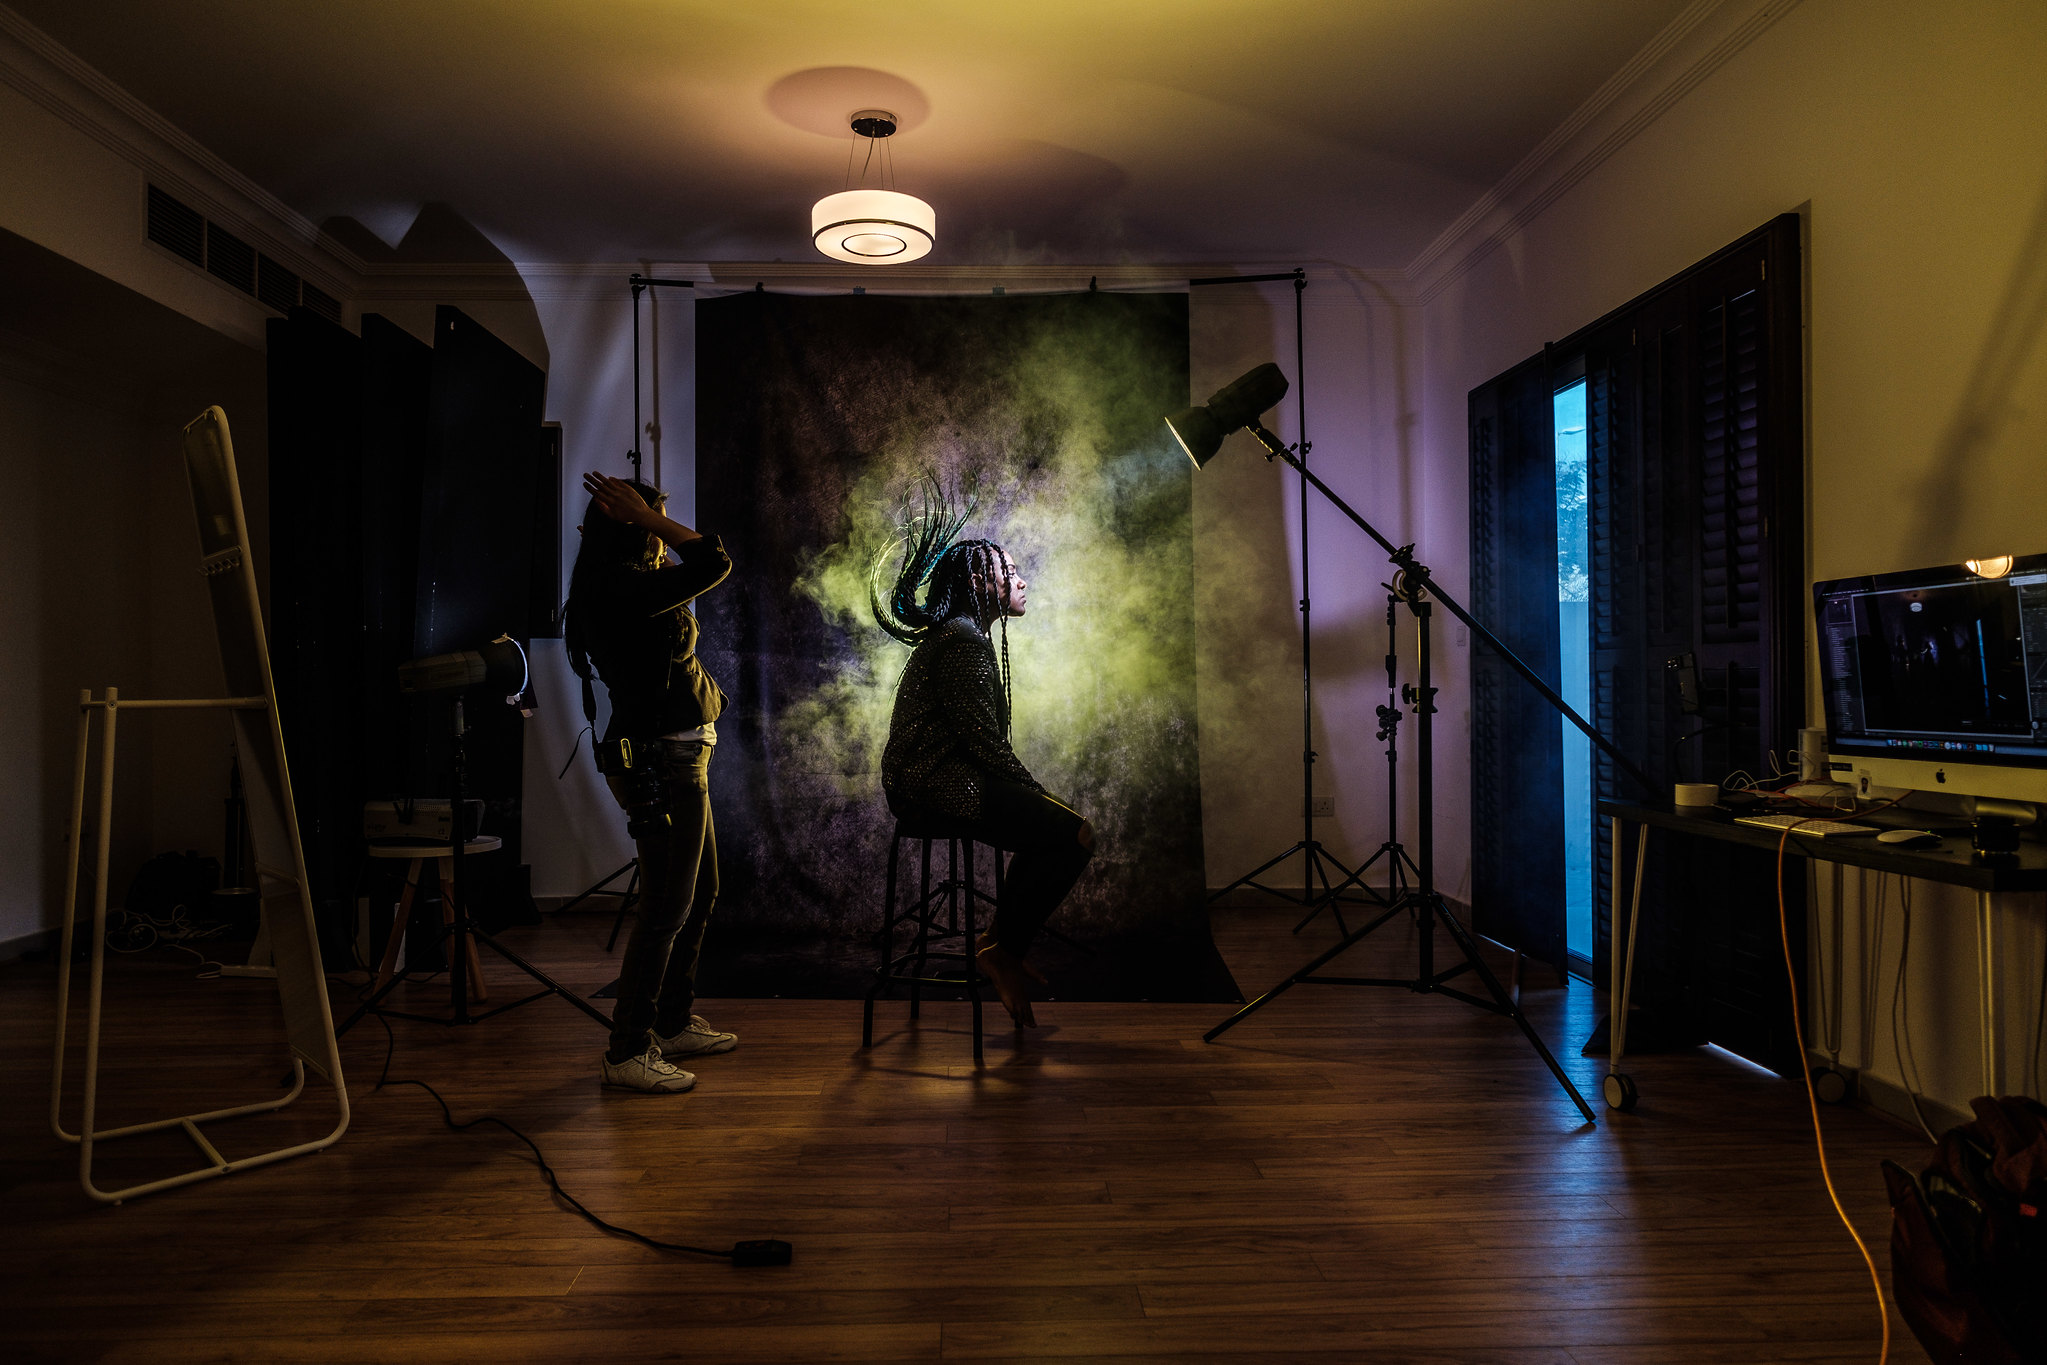
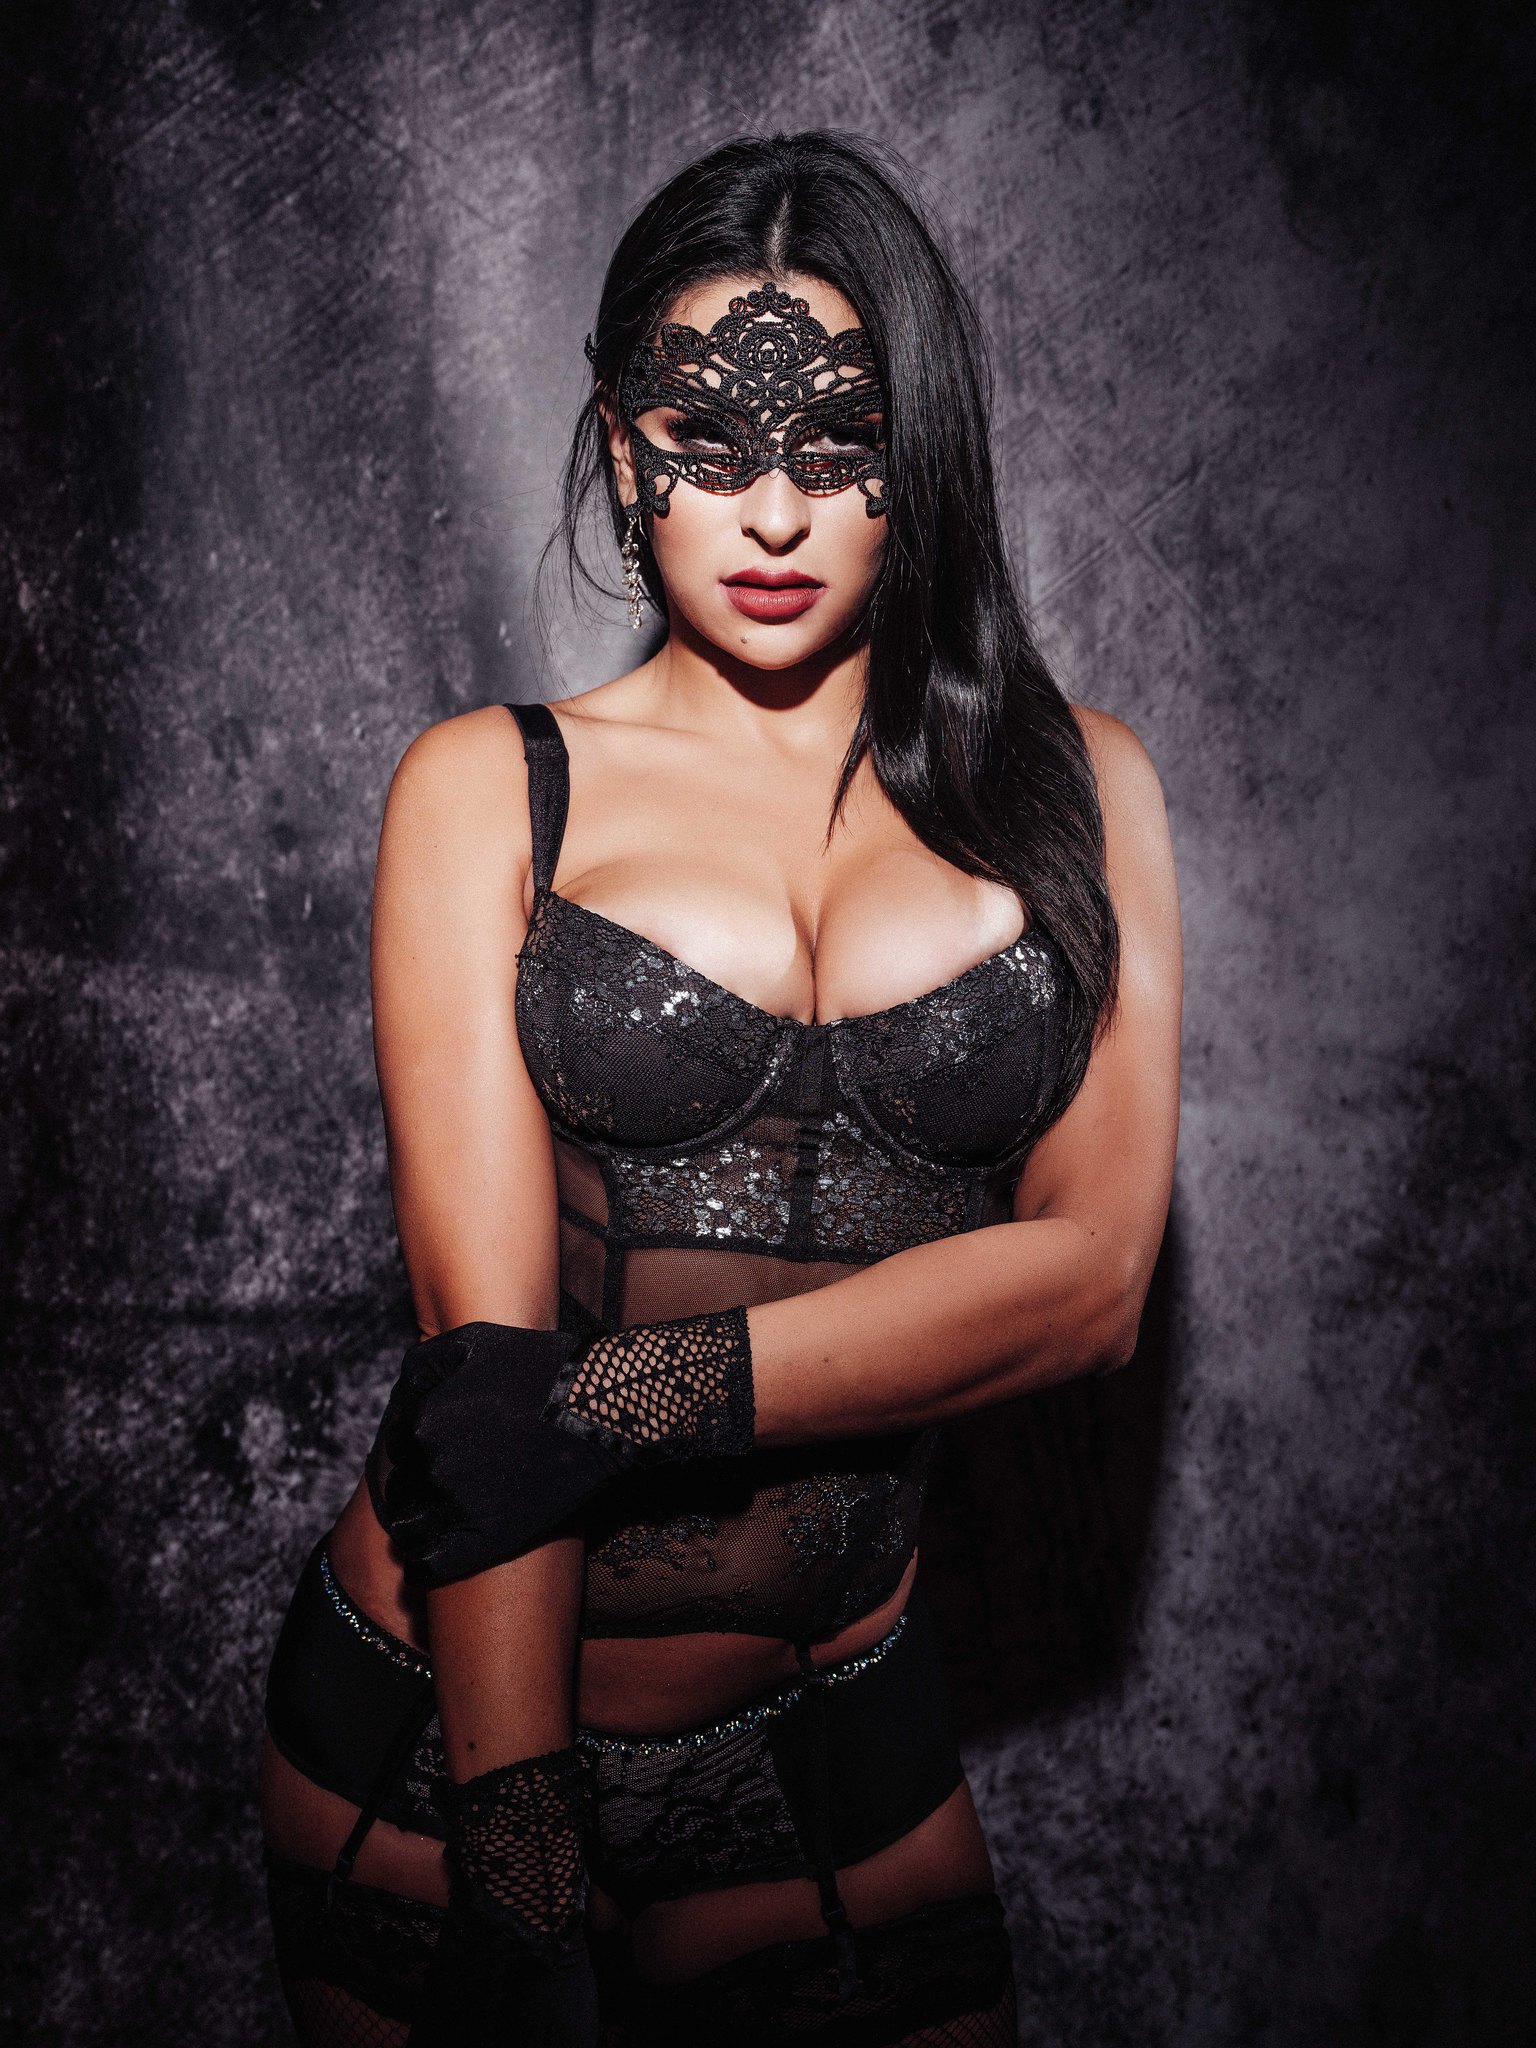
I recently got this textured background and put together some shoots to test out a few lighting setups and see what they looked like. Here are a few setups I tried.
One Light
Using One light means you’ll need to light both the subject and the backdrop with the same light. For this, your subject will need to be relatively close to the backdrop so the light hits the subject then spill onto the backdrop. This means that the backdrop will probably be in focus (relatively).
This is probably the simplest setup with one large modifier like an octabox or beauty dish to give you a low contrast, well-lit portrait. Place your light about 45 degrees to the camera to achieve this look.
Using the same setup, move your light directly above your subject in the “Paramount” or “Butterfly” position. Use a reflector to fill in the shadows.
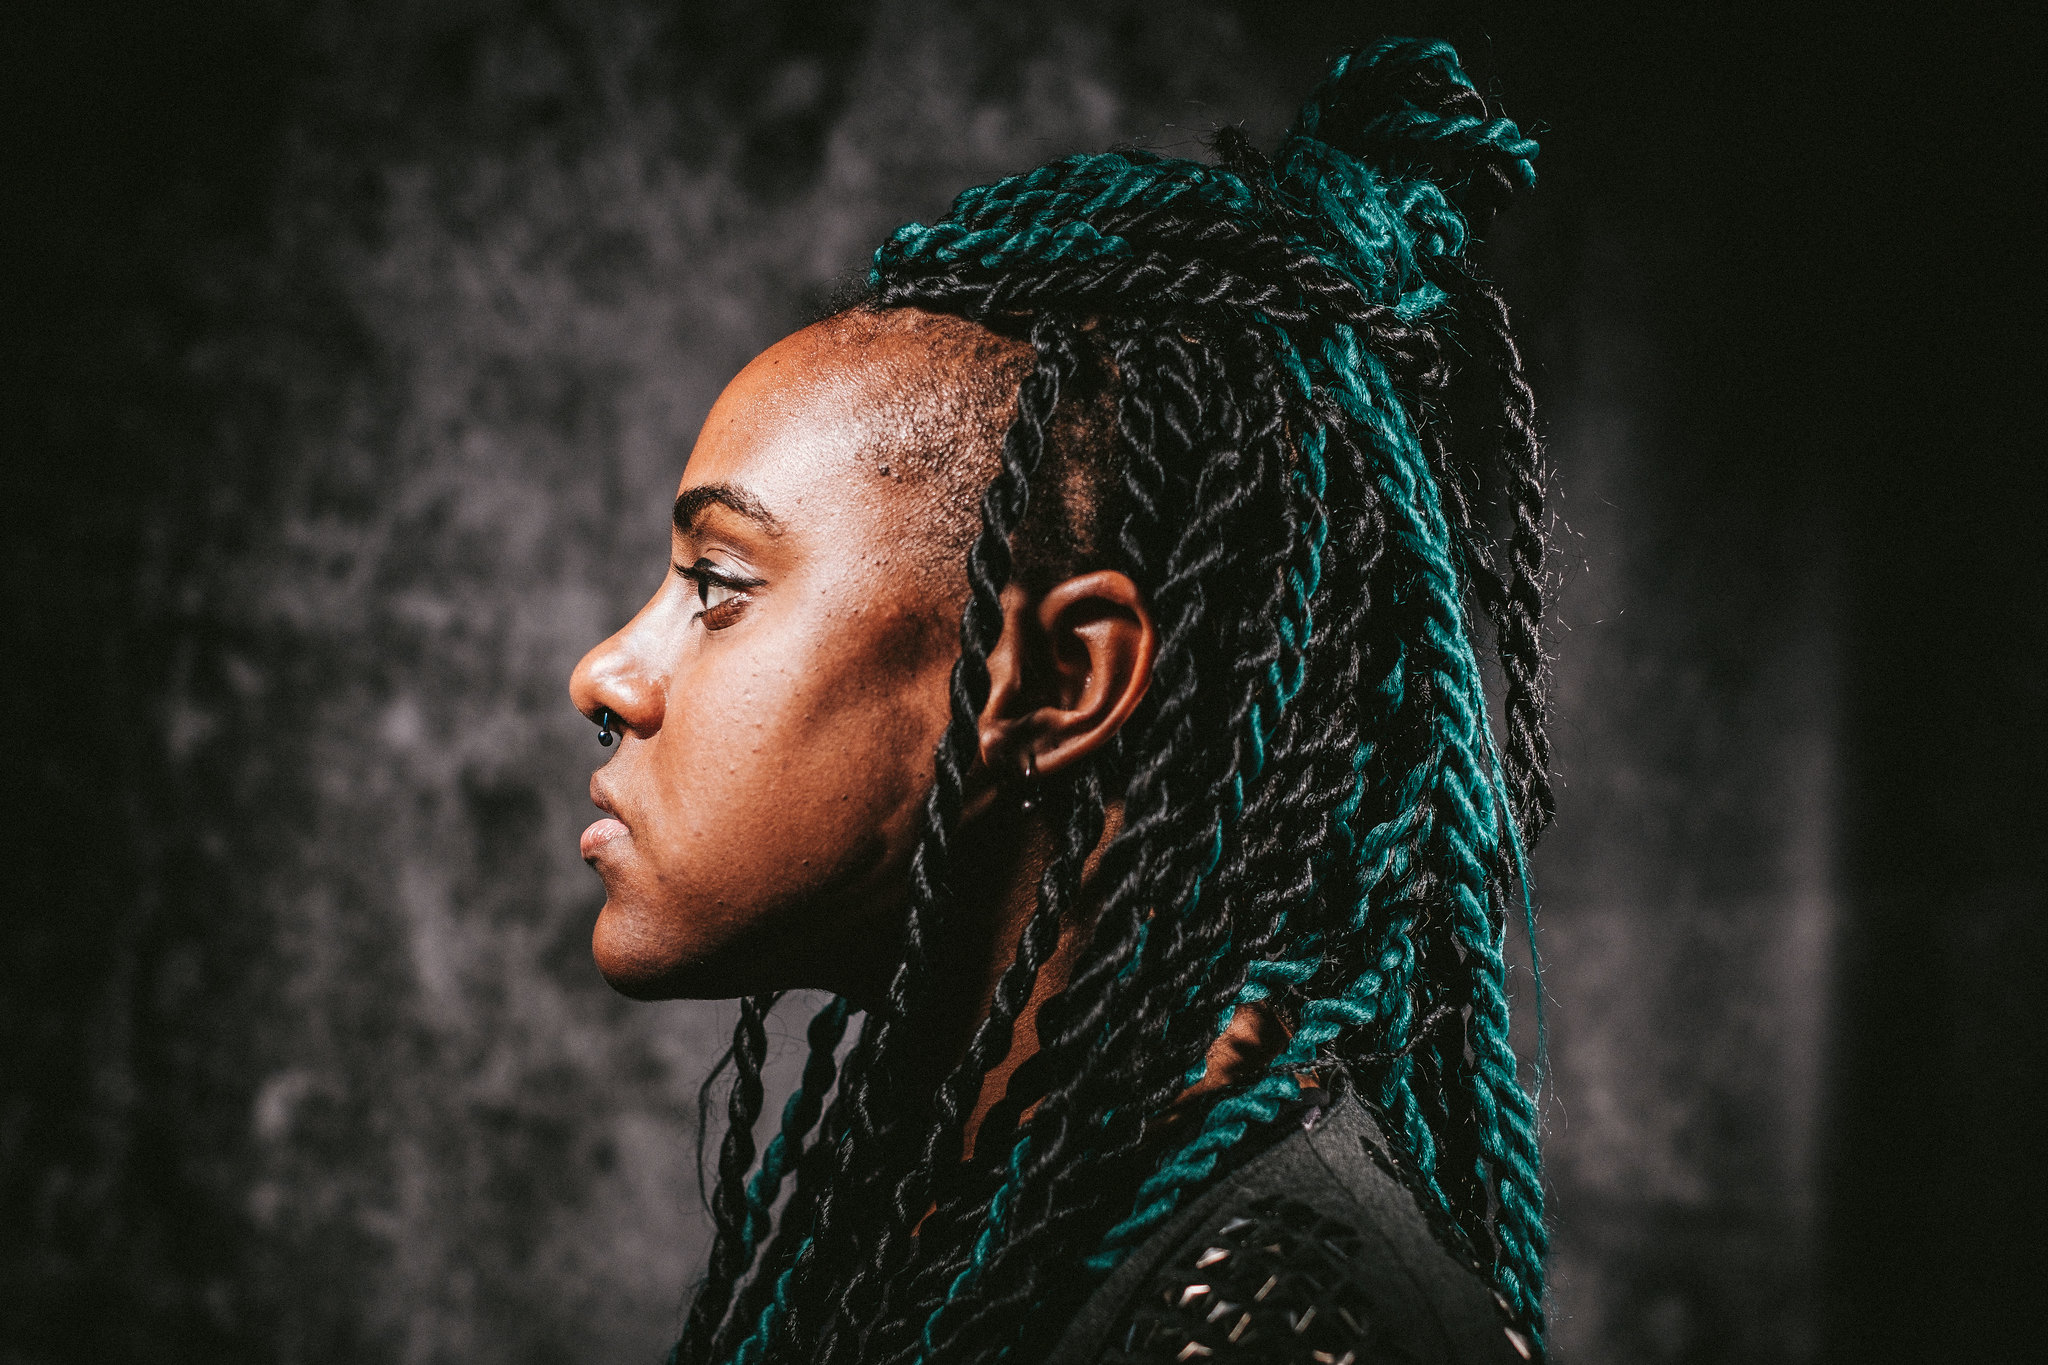
To make things more interesting you can substitute the large modifier for a smaller, controlled light with a grid on it. This will give you a high contrast dramatic look.
Two Light
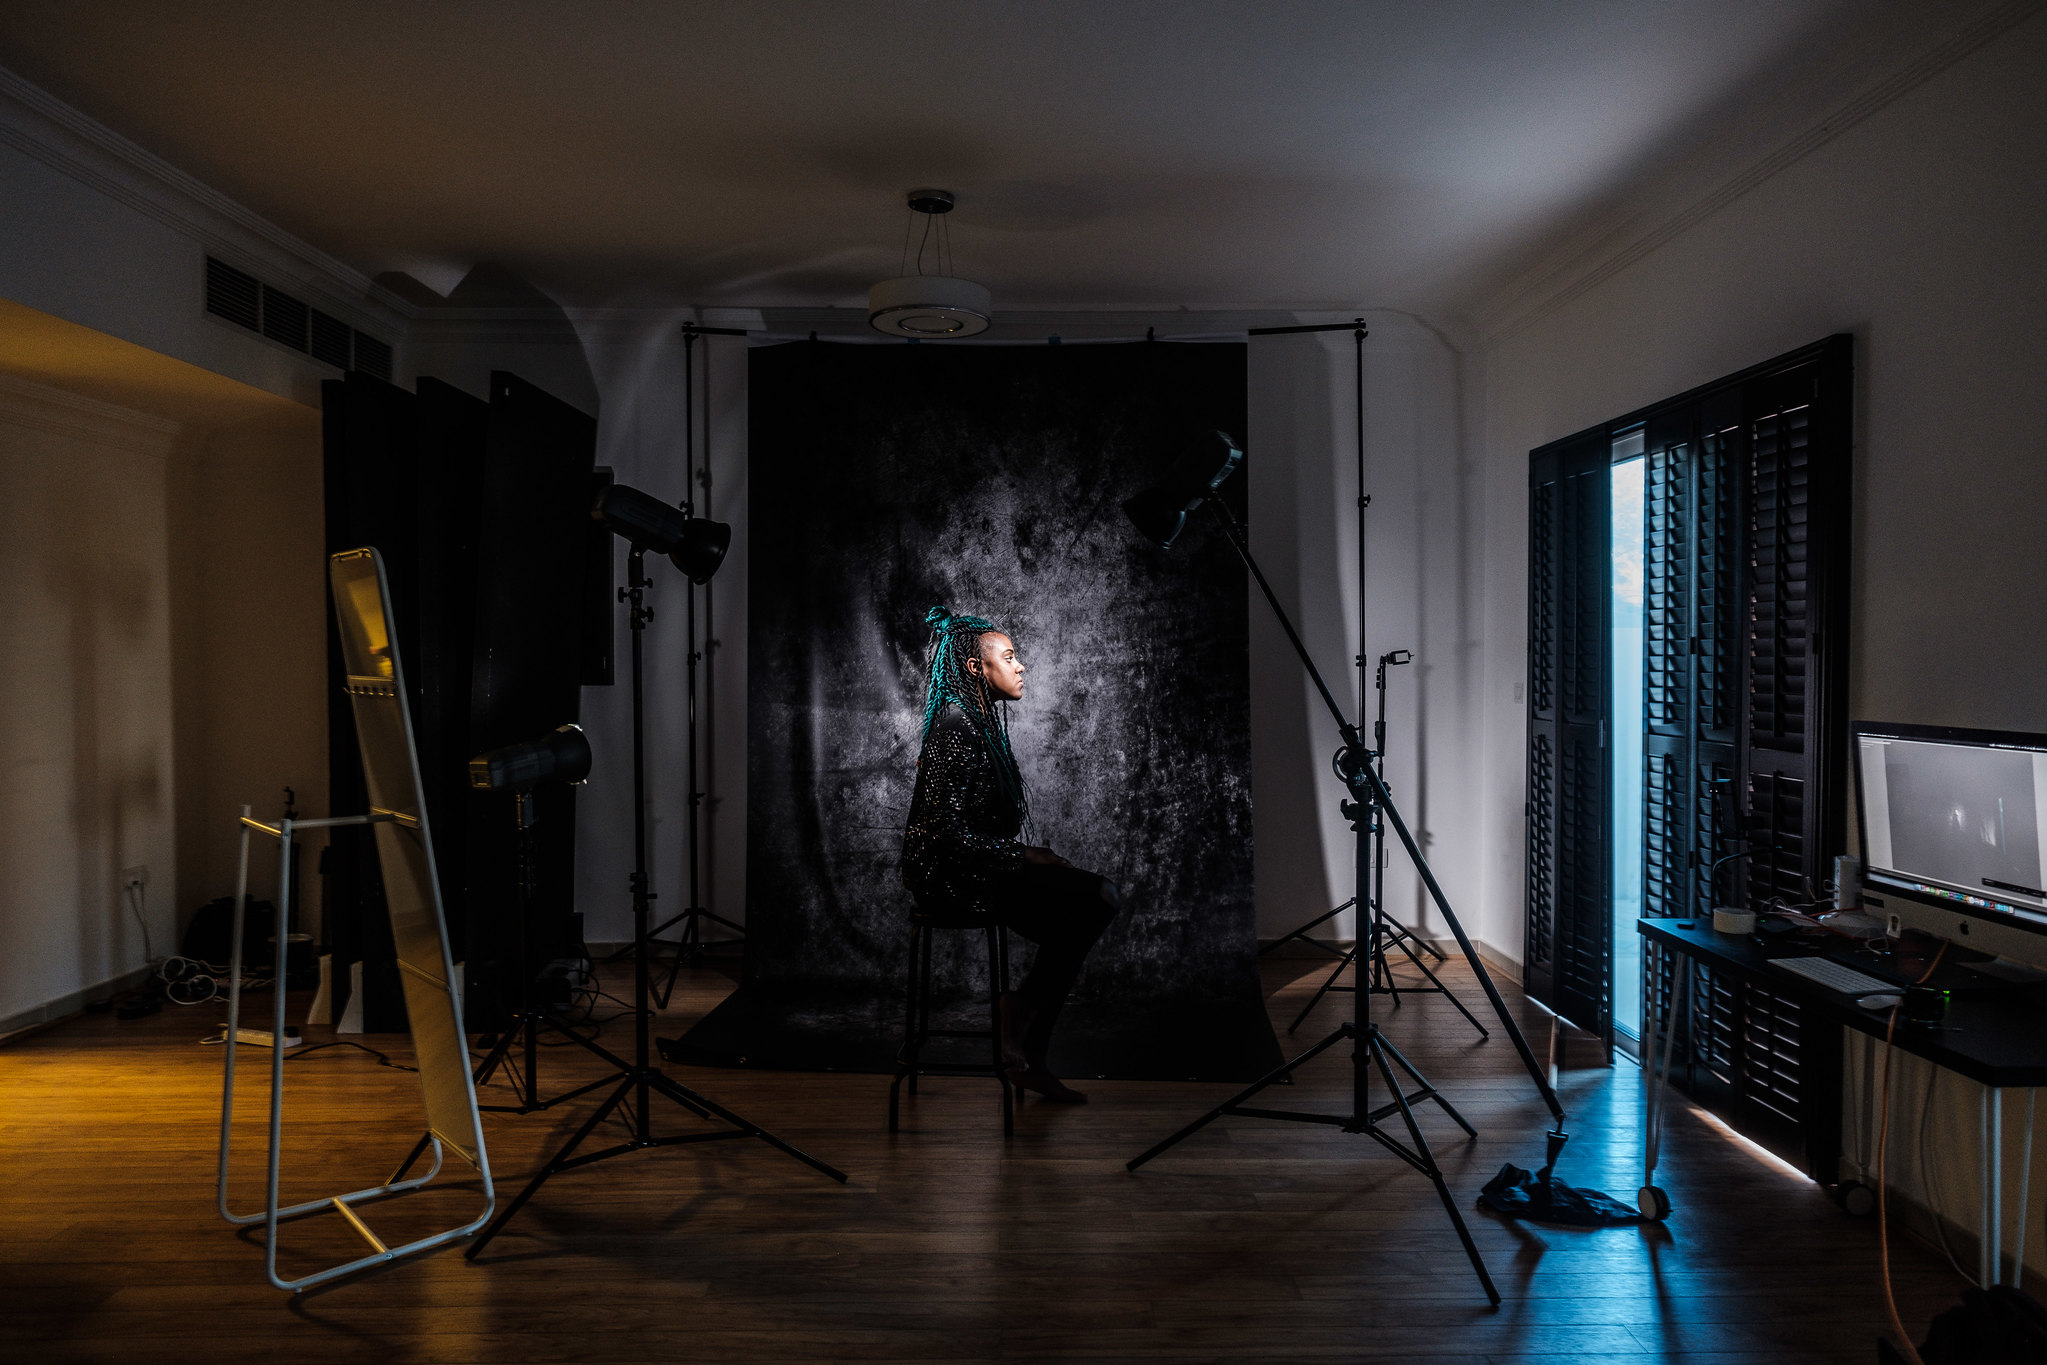
So you’ve mastered the one light setup. Lets see what you can do with two lights. You can now move your subject away from the background, light the background separately and have it out of focus (shallow depth of field).
With one light equipped with a zoom reflector pointing at the background and the main light with grid pointing at your subject you can create a dramatic look like this one.
Switch out your grid on the main light to a large modifier like an octabox or beauty dish for a more evenly lit portrait. Stick a reflector under you subject to make those fill in shadows and make those eyes sparkle.
Three Lights
Using the same setup as before, add a hair light to further separate the subject from the background
Get Creative
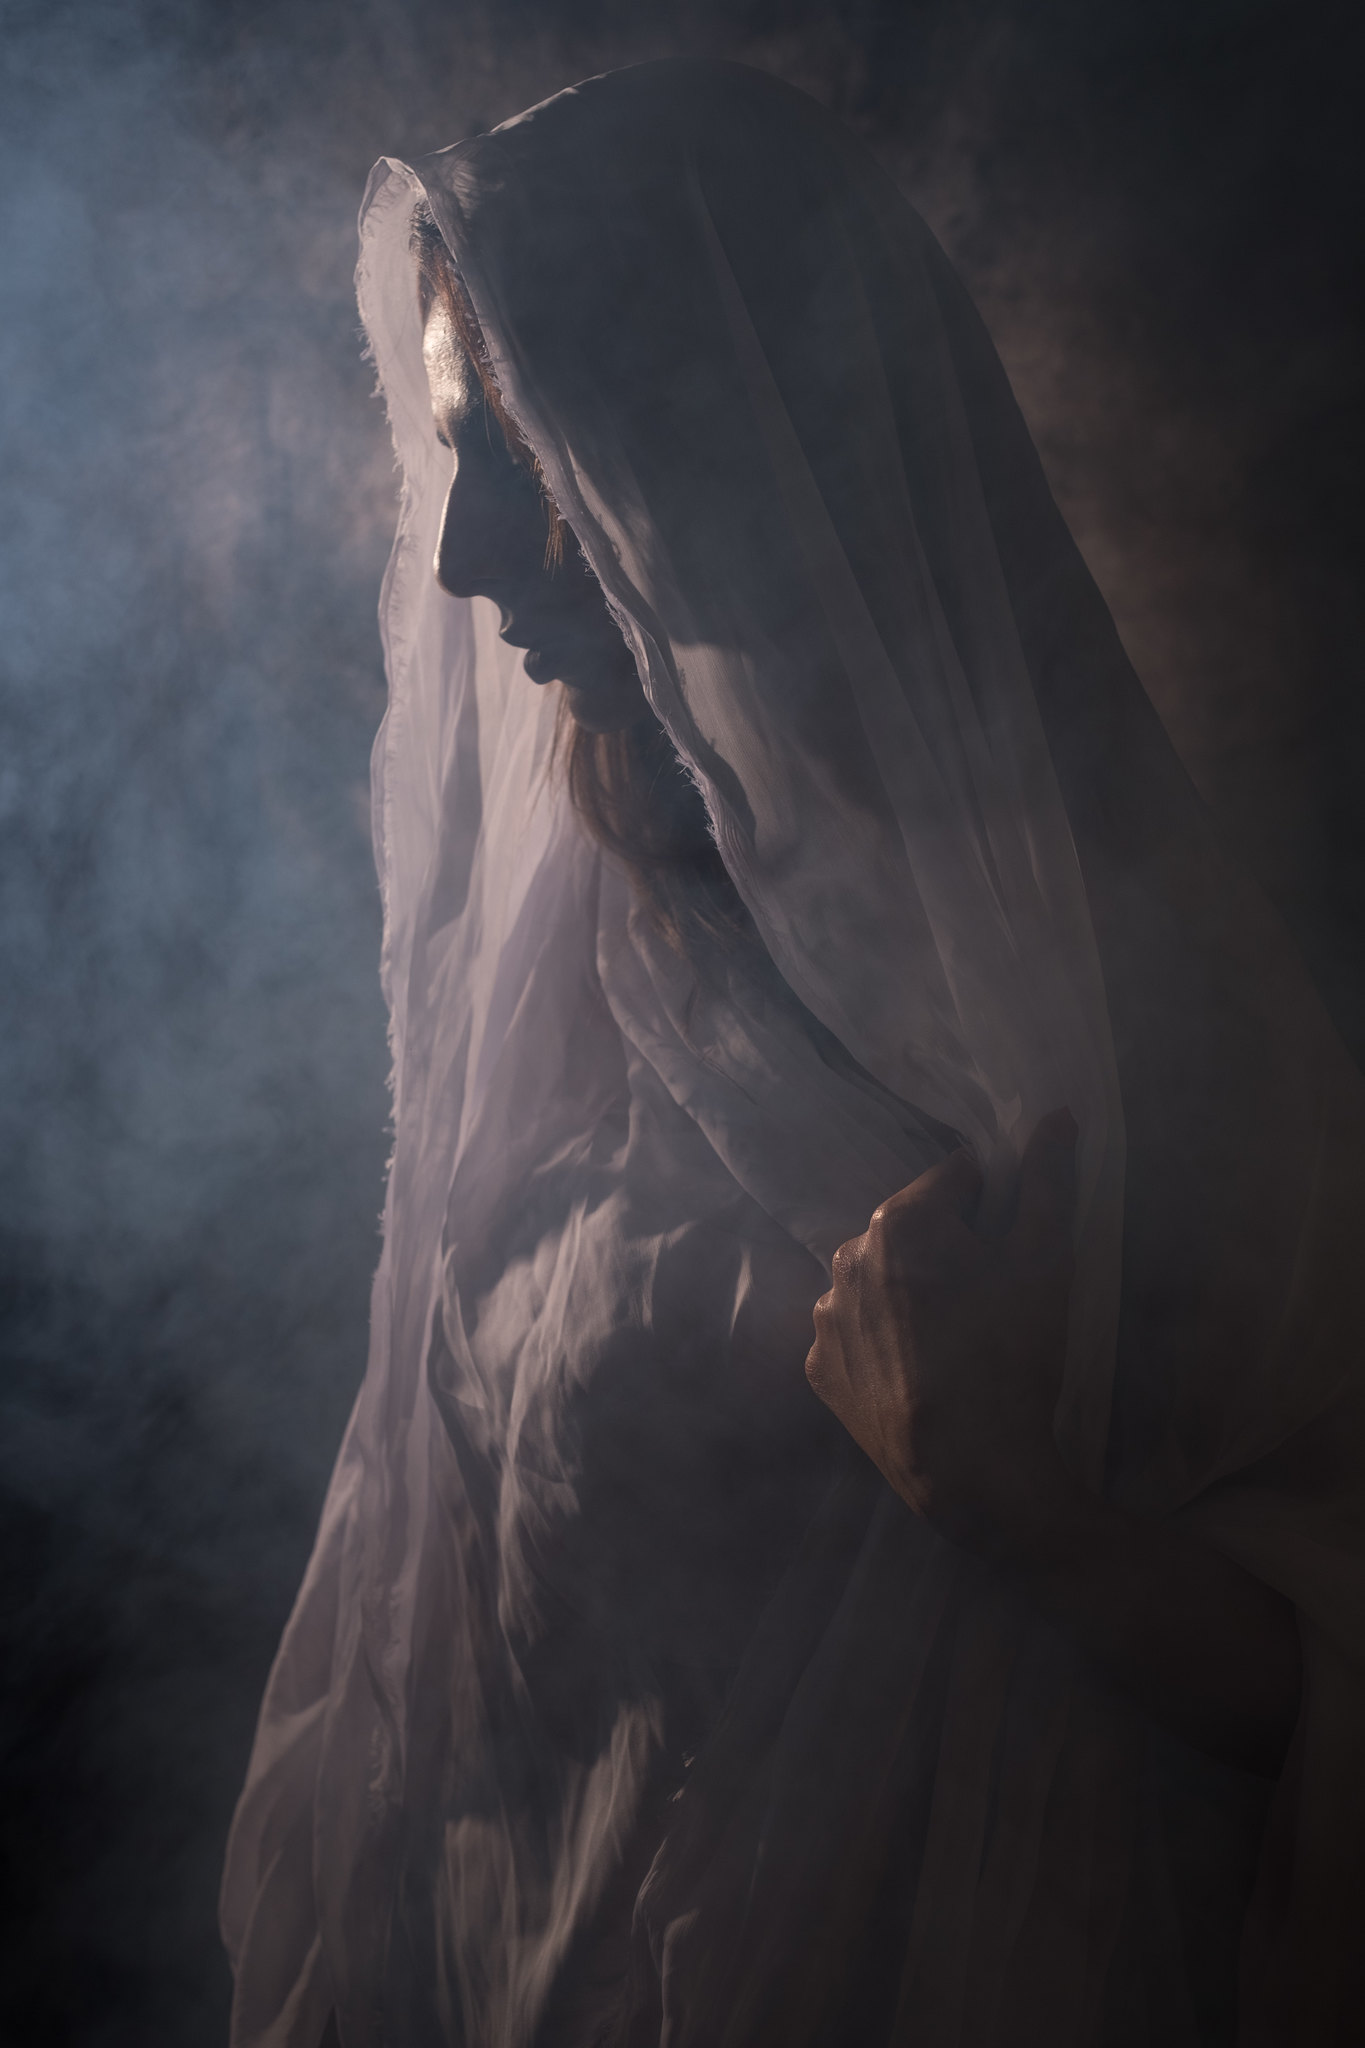
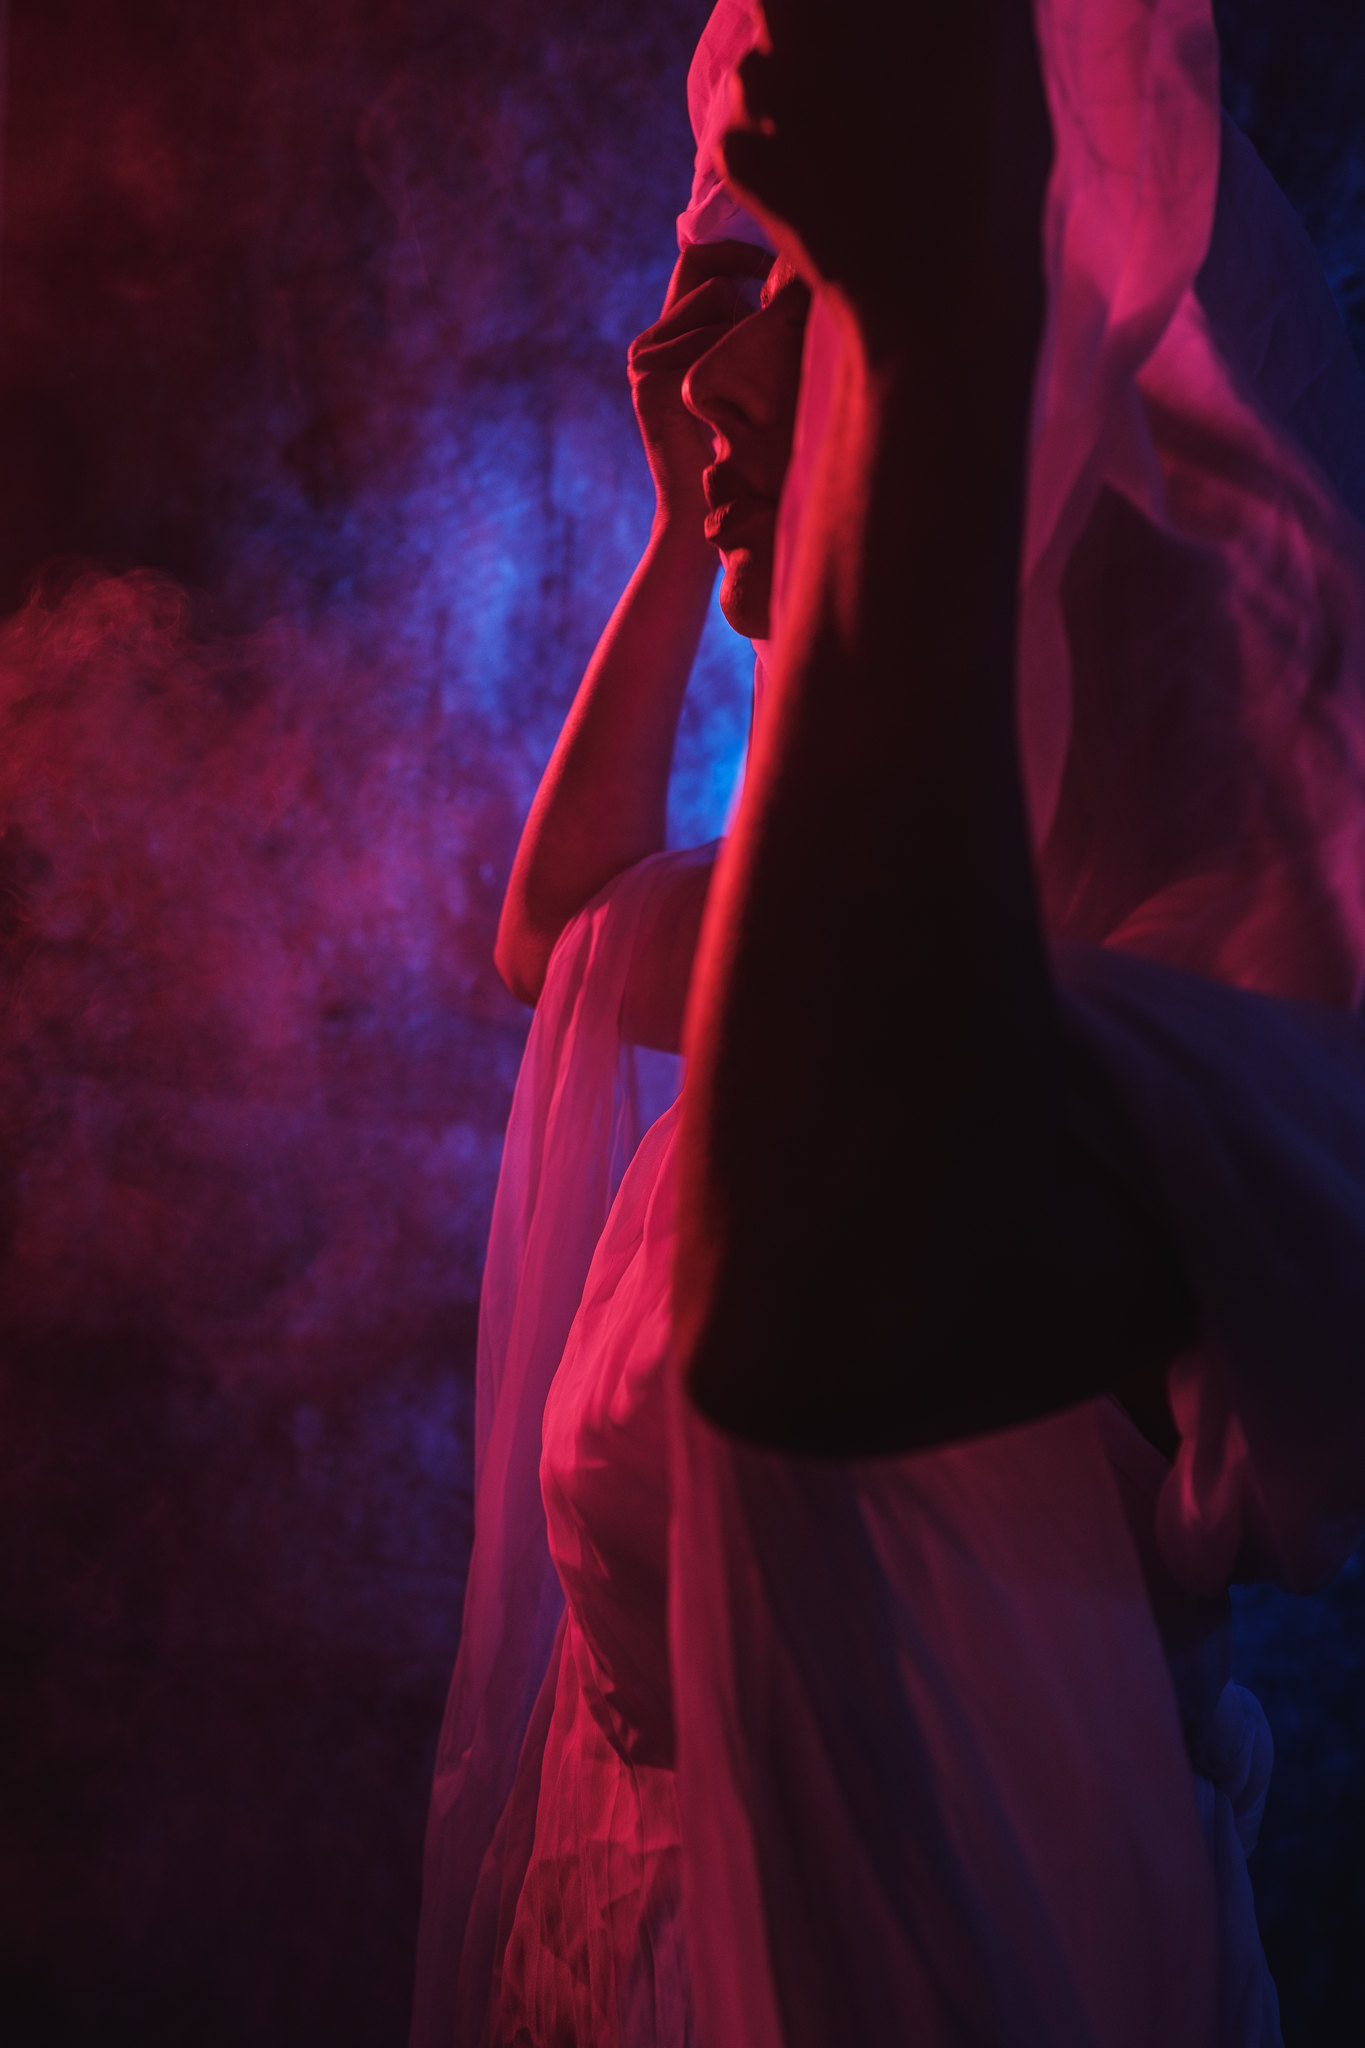
Those some gels on your lights, fire up that smoke machine in your garage. Forget the rules and make mistakes. See what happens
Like this post? Please share it and follow me on instagram @waleedshah
